
Matt and Iain of Touratech-USA recently upgraded the worn-out stock shocks on their 2005 and 2006 BMW R1200GS’s and have since created this handy “How-To” guide for installing new suspension on the R1200GS or Adventure.
This is a relatively easy task to do yourself, and provides an opportunity to inspect the nuts, bolts and bushings that keep your suspension in place. It can be time consuming, so remember to be patient, take your time, and do things right. Suspension isn’t a good place to cut corners.
This is simply a guide with helpful pointers and by no means a complete instruction set. Everyone has their own methods and styles. We just hope this helps point people in the right direction and gives them an idea of how to swap the shocks on their BMW R1200GS.
Before you Start
Recommended tools and equipment:
- Auto or Motorcycle Floor Jack
- Torx Wrenches & Drivers
- Allen Wrenches & Drivers
- Metric Combination Wrenches, Sockets, & Extensions
- Torque Wrench
- LocTite or other thread locking compound
- Anti-seize compound
- Penetrating oil or WD-40
Rear Shock Removal:
1.) Support Motorcycle on Centerstand. Ensure rear tire is off ground.
2.) Remove passenger and driver seat
3.) Loosen exhaust clamp between catalytic converter and silencer mid-pipe
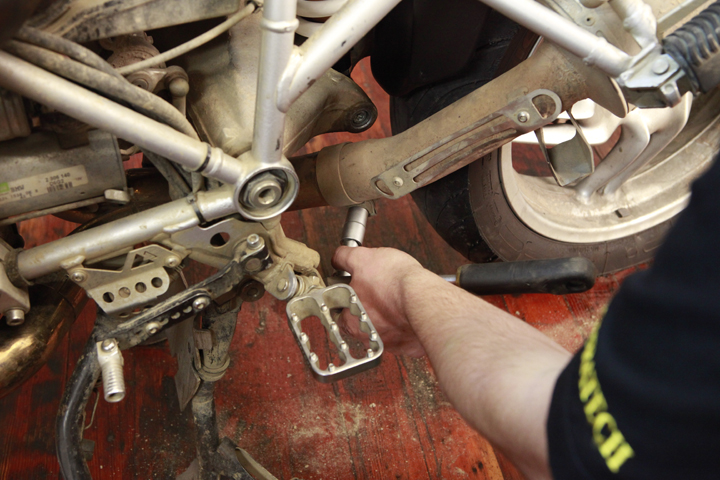
4.) Remove exhaust silencer mounting bolt, remove silencer and set aside
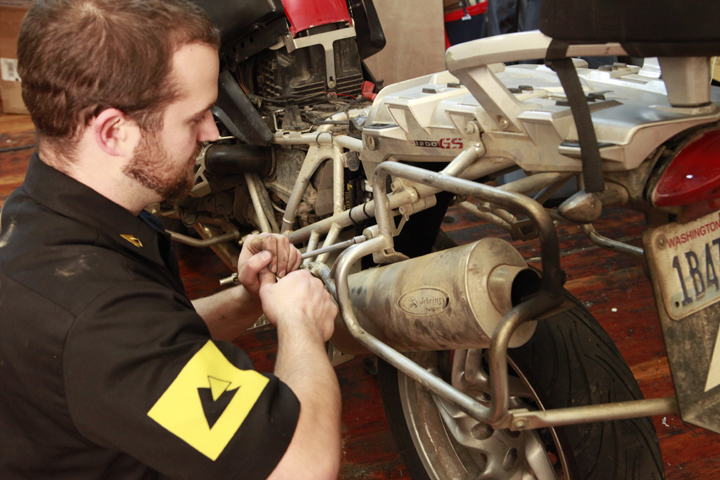
5.) Remove bottom shock bolt using T50 Torx bit. (This bolt may be difficult to remove. Use of liberal amounts of penetrating oil or WD-40 and a cheater bar will help)
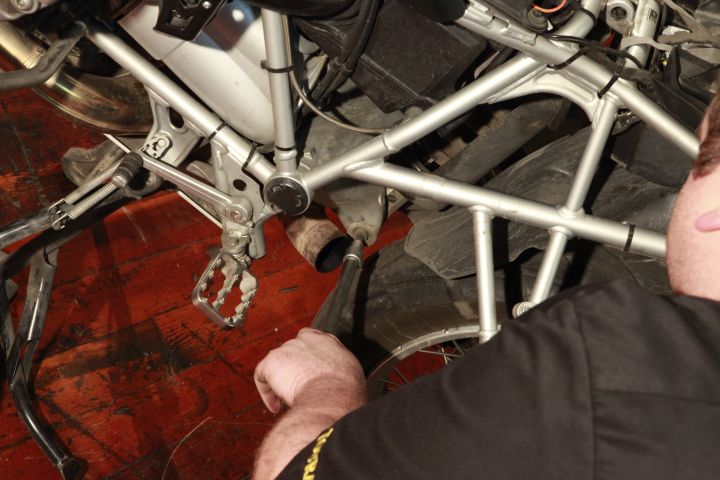
6.) Remove top shock bolt using 15mm wrench and T50 Torx wrench.
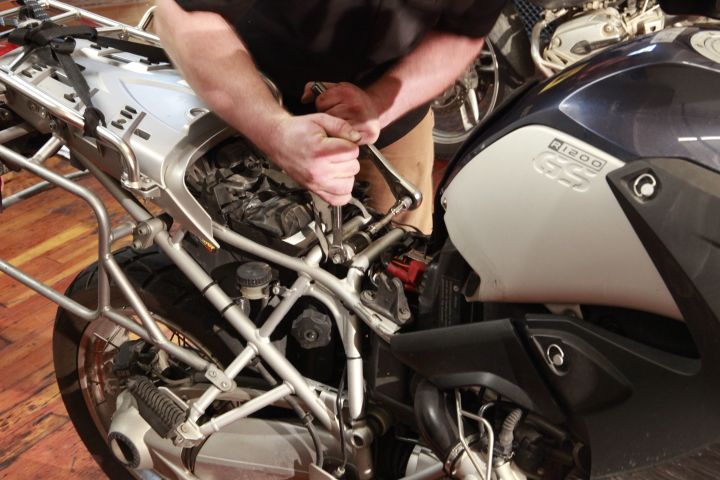
7.) Lower rear shock out of the frame carefully, rotating if necessary.
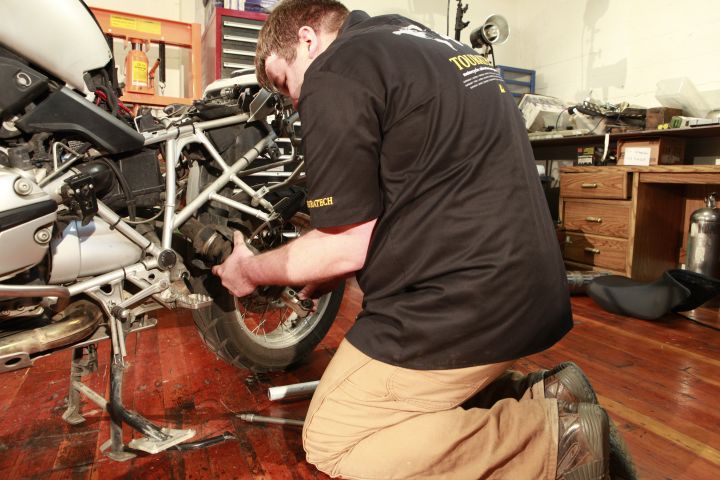
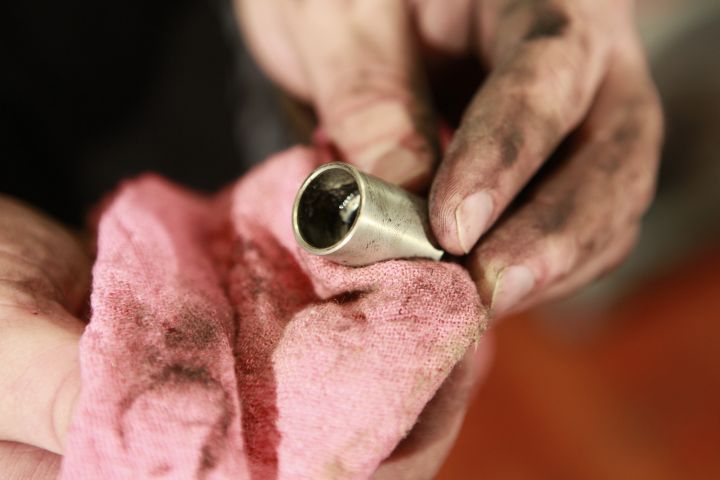
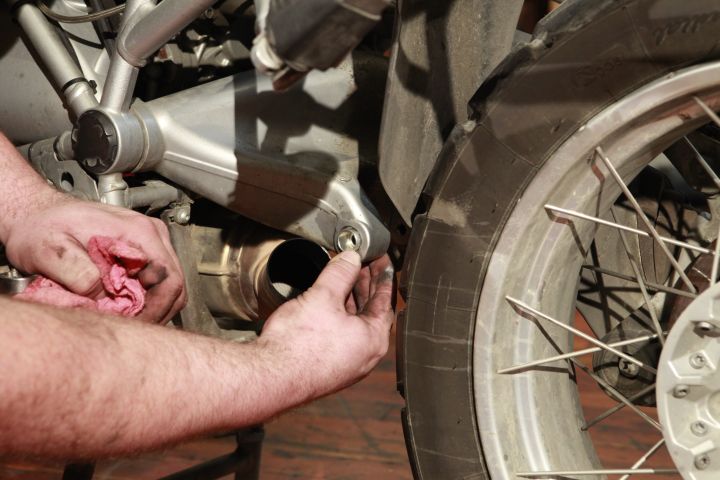
8.) This is a very important step! Remove lower shock mount bushing from swingarm by pushing it through the hole. It may be stuck and require force to remove. Clean bushing and hole, apply anti-seize compound to exterior of bushing, before re-inserting into swingarm. (If you do not ensure the bushing floats freely in the swingarm, there is a possibility your shock bolt can not reach proper torque and risk breaking the bolt under heavy use.)
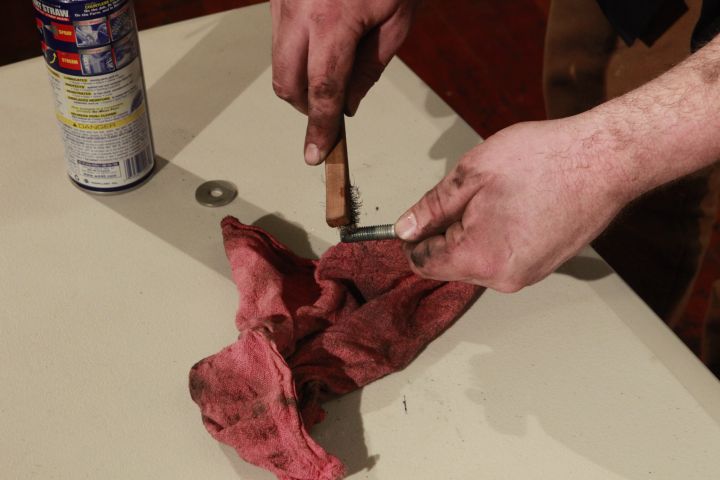
9.) Clean the threads of both top and bottom mounting bolts with a wire brush. There will be threadlock compound remaining on the bottom bolt.
10.) Clean the old threadlock out of the threaded hole in the swingarm. (excess dried thread locking material can cause bolt to bottom out before reaching proper torque)
11.) If you have a Touratech Extreme Shock with adjustable length, now is a good time to set it to your desired length before installation. Use a 24 and a 27 mm open end wrench to loosen the retaining nut, then adjust the height. Do not adjust the length beyond the min/max lines marked on the bolt threads. Be sure to tighten the retaining nut before installation.
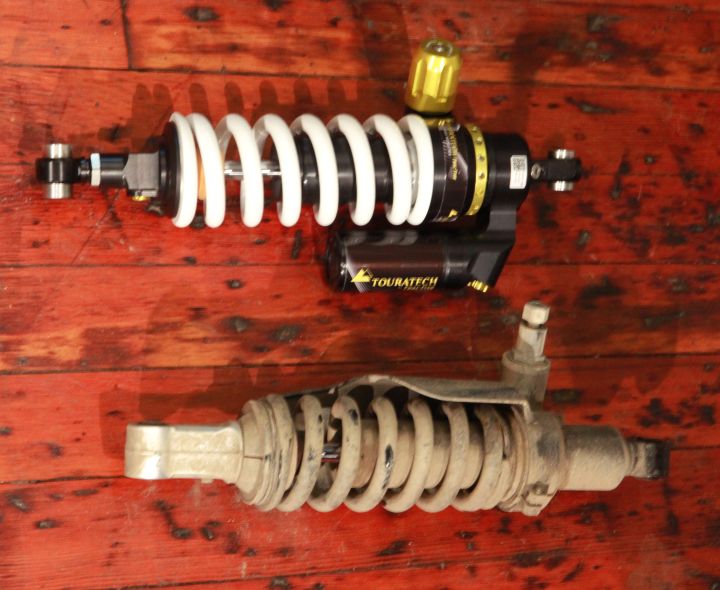
12.) Apply anti-seize compound to thread of upper shock bolt. BMW recommends replacement of the upper pinch nut
13.) Raise new shock into place
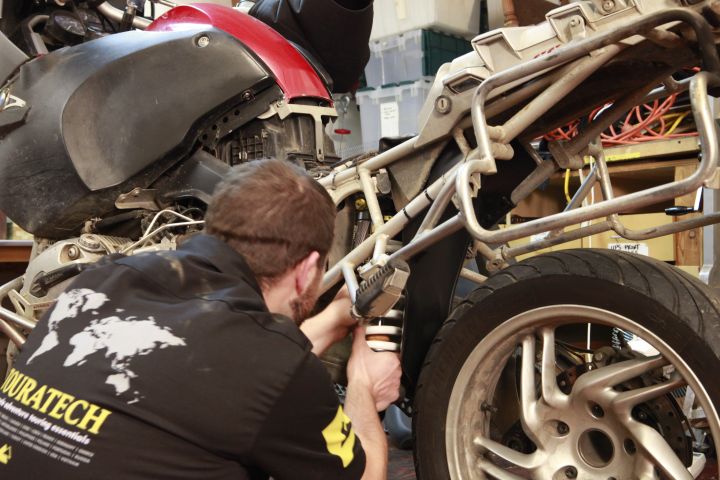
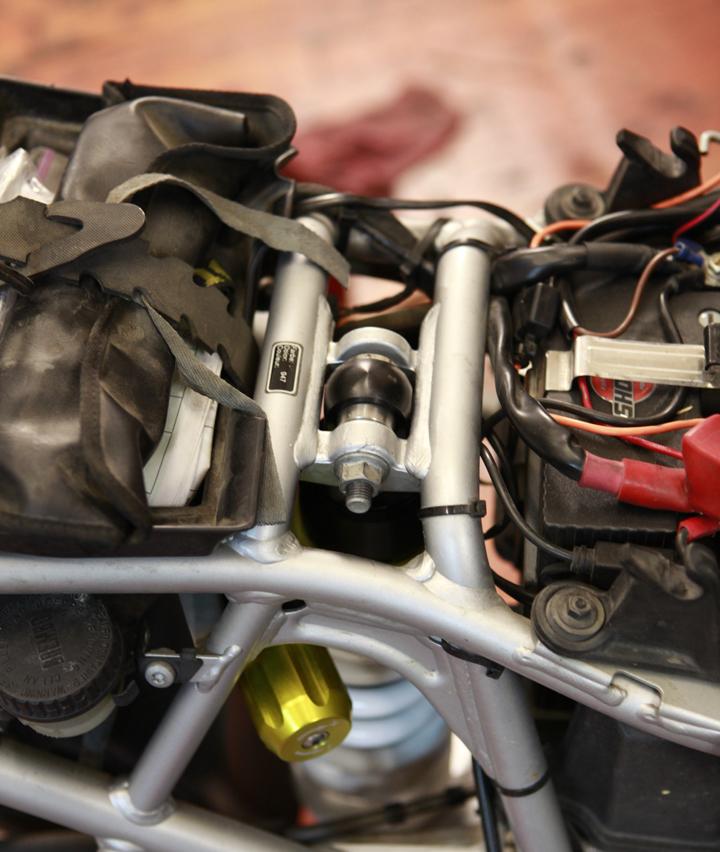
14.) Be sure that top bolt is inserted from the proper side of the upper mount. There is a machined recess that the bolt head fits into.
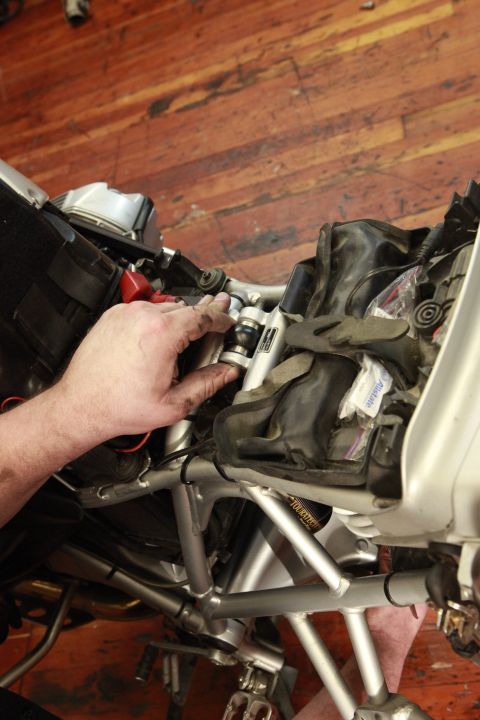
15.) Hold bolt with T50 Torx wrench, and torque nut to 37 ft-lbs (50 Nm).
16.) Use a piece of wood, or have a friend help you to raise the rear wheel enough that the lower shock mount lines up.
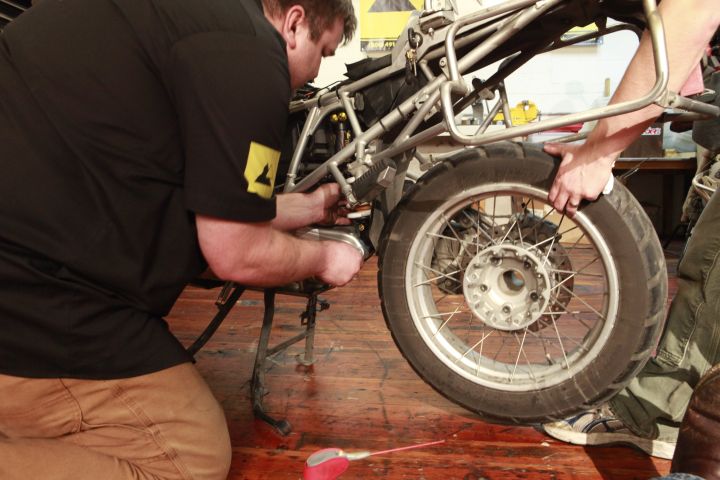
17.) Apply blue LocTite to lower shock mount bolt threads.
18.) Insert bolt through bushing, and lower shock mount.
19.) Torque bolt to 43 ft-lbs, (58 Nm).
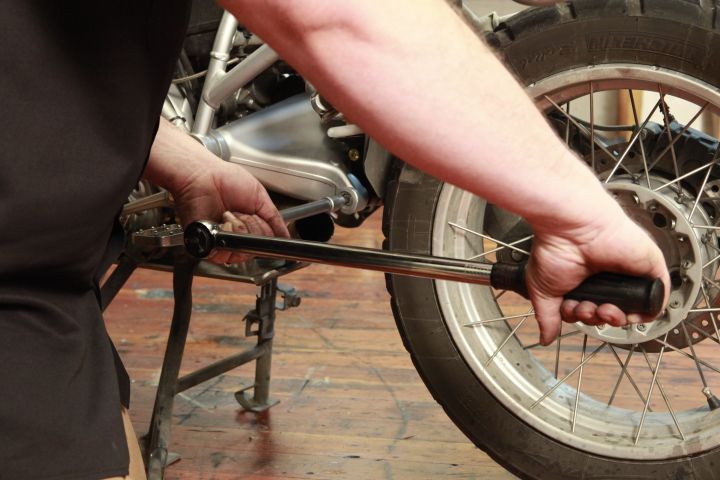
20.) Replace exhaust silencer and seats.
21.) Re-check torque with bike un-supported (under its own weight).
Front Shock Removal and Installation
1.) Put motorcycle on centerstand. Support skid-plate with additional jack to raise front tire off the ground. Brace motorcycle with a safety strap if it is unstable.
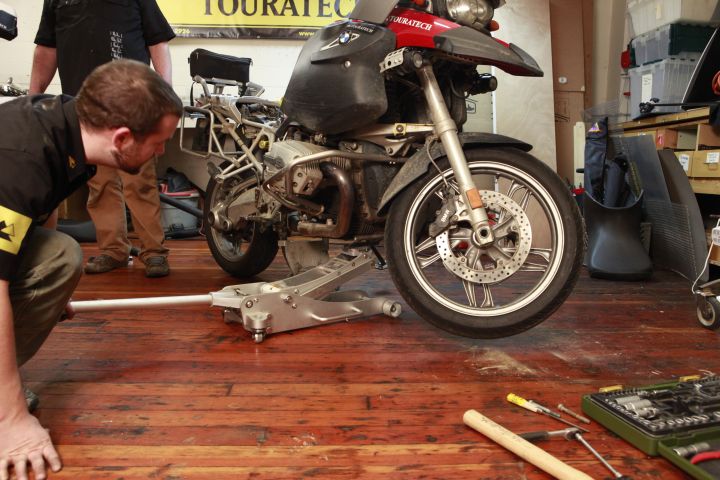
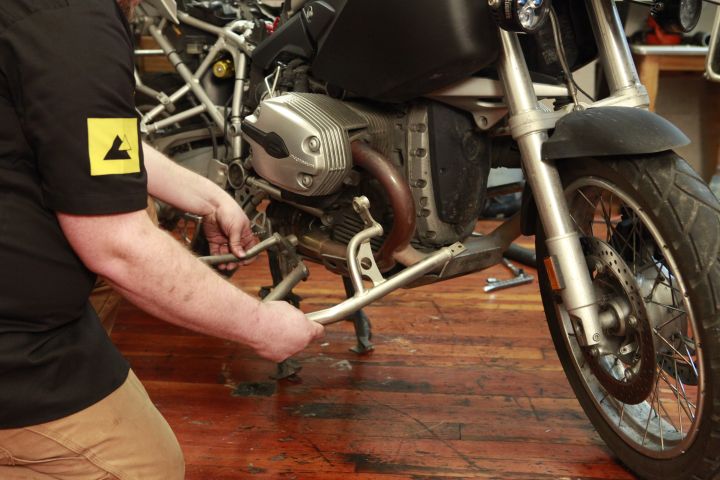
2.) Remove engine crash bars if you have them. This allows the front telelever arm to move as far down as possible.
3.) If you have a 2005-2006 model R1200GS with servo brakes, remove the bolt that holds the brake distribution block to the frame so that the telelever arm can reach full extension.
4.) Remove lower shock bolt using T50 torx wrench.
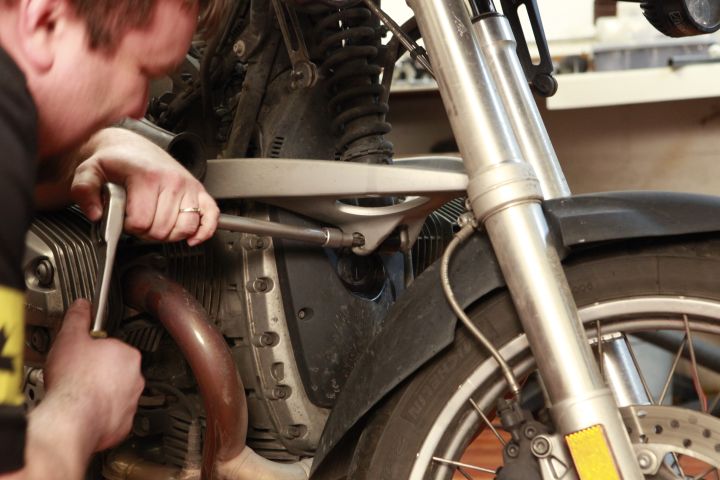
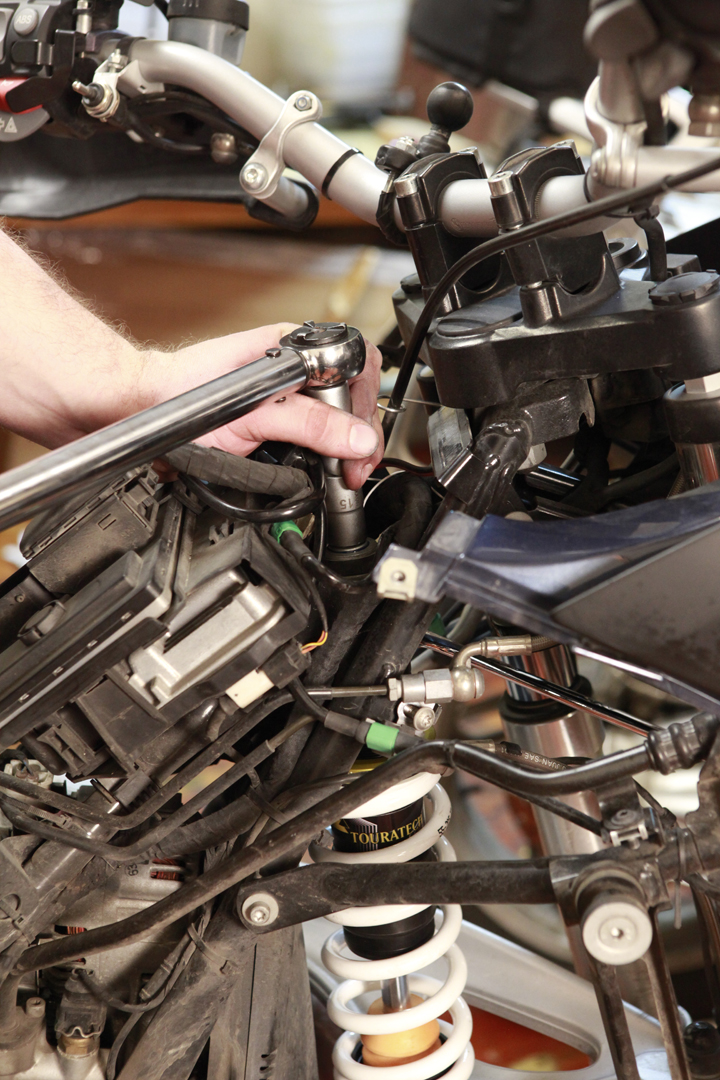
5.) For upper shock nut, you may have to remove the fuel tank to gain access to the top, or if you’re lucky, you can use a ratcheting box-end 15mm wrench along with a 5mm allen key to remove nut on top of shock.
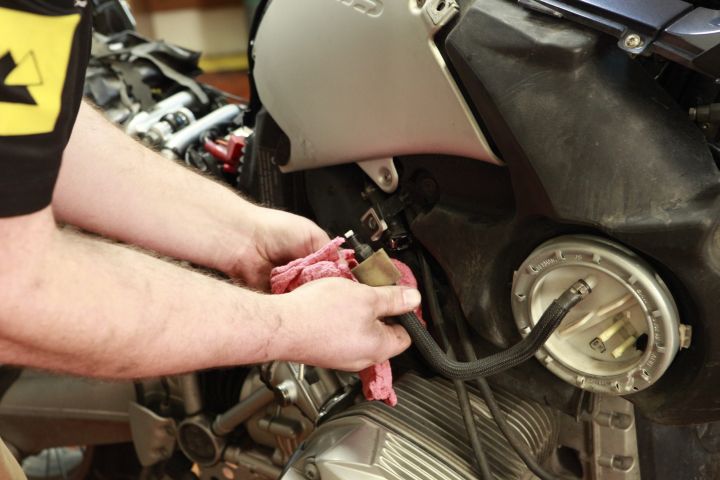
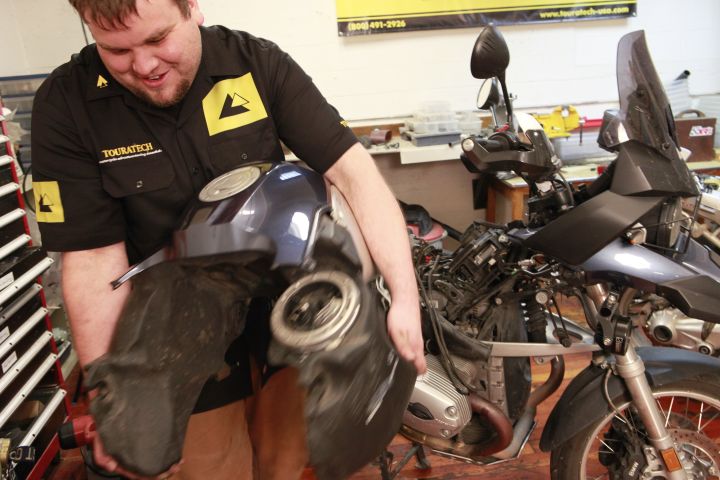
6.) Hold the upper shock bolt with the allen key as you loosen the nut with the 15mm wrench.
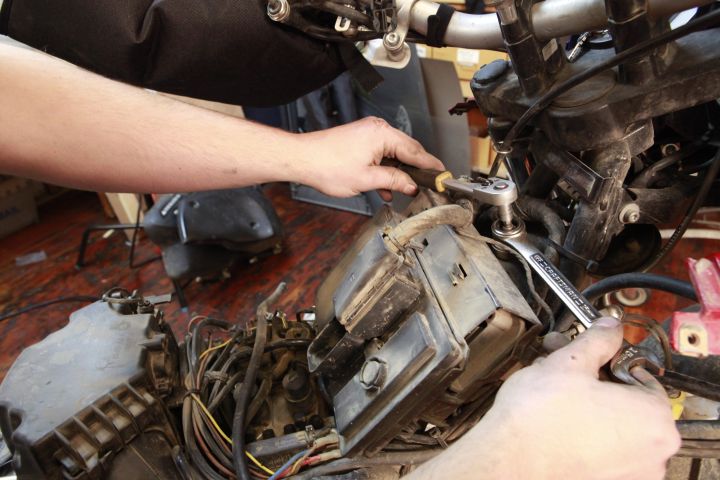
7.) Carefully lower the original shock from the bike and remove.
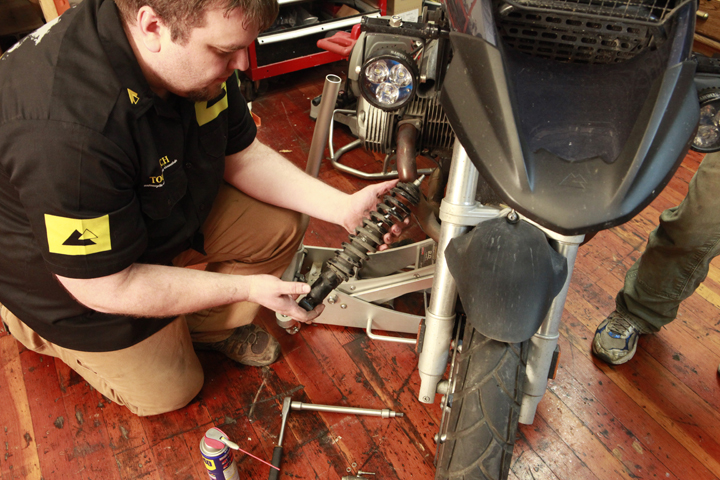
8.) Remove upper spacers and bushings from original shock, be sure to install them on top of your new shock in same order.
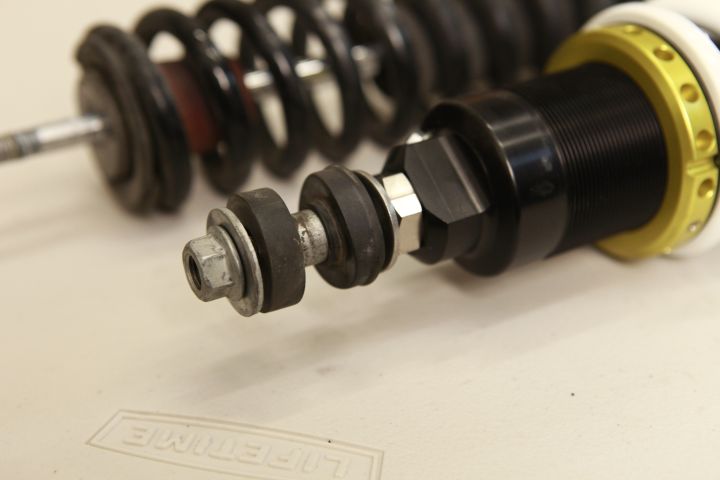
9.) Raise new shock into place, and tighten retaining nut on top shock bolt with a small amount of blue LocTite. Torque to 25 ft-lbs. (34 Nm) while you or a friend hold the top of the shock body from spinning with a 19mm open end wrench.
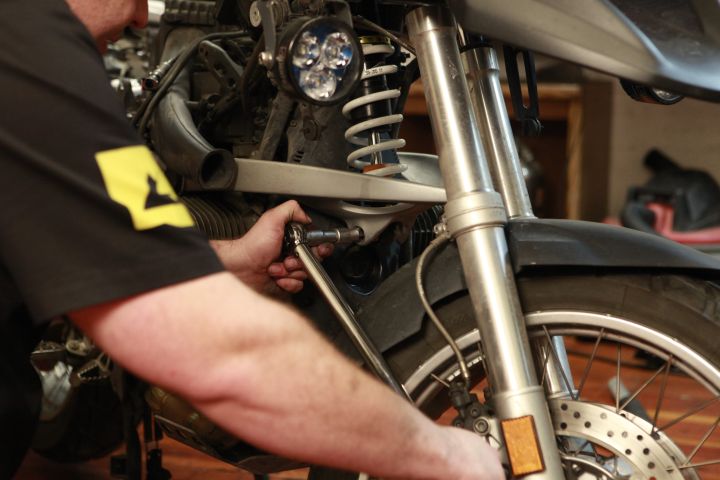
10.) Have a friend lift front wheel until lower bolt lines up. Install lower bolt with anti-seize. Torque to 30 ft-lbs. (40 Nm)
11.) Reinstall tank, crash bars, and anything else you removed for installation.
12.) Lower and remove jack from under motorcycle.
13.) Re-check torque with bike un-supported (under its own weight).
Check all bolts for tightness before and after first ride.
Before riding, be sure to properly set the sag on your bike. (see our sag-setting tutorial) For information on how to dial-in all the setting on your new shock, click HERE.
Enjoy your new suspension!