Tire Change How-To
Tires are a consumable item, at some point they will need to be replaced. It’s easy to bring the motorcycle to a shop to replace your old tires, but then you would be missing out on a great opportunity to pull out your tool kit, and practice a skill that at some point you’ll need. Flat tires can happen anywhere, carrying the tools to fix a flat is only half of being prepared, experience with the tools is the other half.
The Tools You’ll Need:
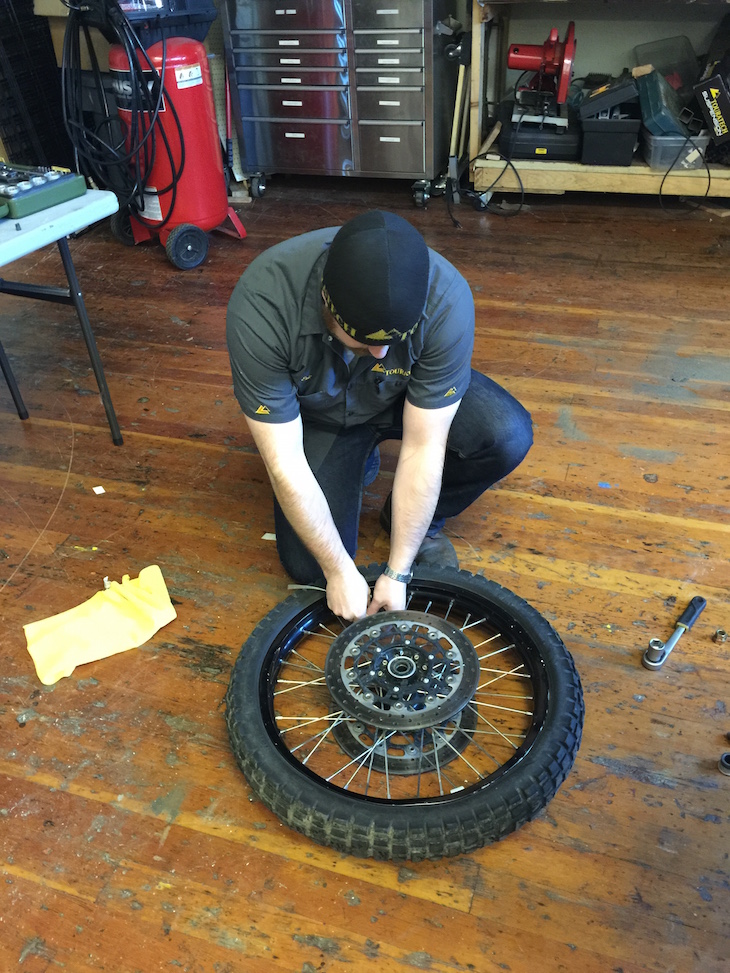
Step One: Removing the wheel
The actual process of removing the wheel varies a little from motorcycle to motorcycle, check your owners manual. Make note of any spacers, bushings, or cush-drive pieces to ensure they go back in the proper position when reinstalling the wheel.

Step Two: Prepare the wheel for tire removal
Remove the valve core from the valve stem (this will quickly deflate the tire), remove the valve stem retaining nut (normally with a 12mm wrench), back the bead lock retaining nut all the way out. I like to also take a quick minute at this point and wipe down the rim with a rag, as I prefer working with clean parts.
Step Three: Break the bead
There are many methods to break the bead. If I am not using a tire machine, I find the side-stand method works the best: Lay the wheel flat on the ground, then use the side-stand to put pressure as close to the rim as possible. It may take a few applications on different spots to get the bead to break loose. You will know when the bead is broken as the tire will fall into center trough of the rim.
Step Four: Lube the tire
I like to use a little dish soap with water to lube the tire and allow the tire to slide over the rim and tire irons a bit easier. This step isn’t total necessary, but I find it makes the job easier, in the field I will normally just use water. With the rag wipe from the bead up the sidewall a little ways.
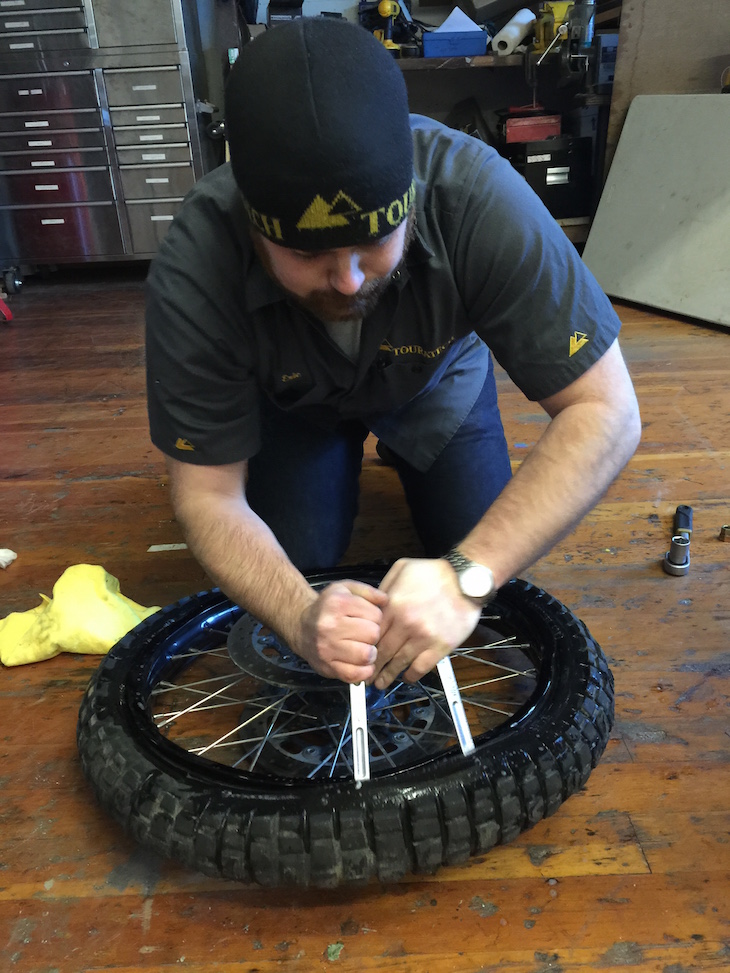
Step Five: First Bead
If the wheel has a bead-lock, start with a tire iron on either side of the bead-lock, then you will work towards the valve stem. If you do not have a bead-lock, just start straddling the valve stem. You will want to ensure the tire is in the center trough across from where you are starting with the tire irons, this will give the slack needed to pull the tire over the rim, kneeling on the tire can help with this. Now, with the first part of the bead over the rim remove one tire iron and start working around the rim. Moving a few inches between levering points will work better than trying to lift large sections over the rim.
Step Six: Remove the tube
With one bead dismounted, remove the tube. If this a field repair of a flat, inspect the tube and see where the puncture happened. If the puncture is on the side of the tube, chances are it was a pinch flat from running low tire pressure and the tube was pinched between the ground and the rim. If the puncture is elsewhere the tire should be checked to make sure the cause for the puncture is not still lodged in the tire. If only the tube is being replace you can skip to step ten.
Step Seven: Remove the second bead, remove the tire
There are two different methods to remove the second bead from the wheel. The first method works well if dealing with bead-locks, while the second method is more versatile and works better for smaller diameter wheels.
- Using the same procedure from step five, dismount the second bead. Once the tire is loose around the rim, drop the rim into the center of the tire and pull it free. This might take a little work with a tire iron to fully free the tire.
- Working from the same side of the wheel that already has a bead removed reach your two tire irons under both beads and work a 6”-8” section of bead over the wheel. Now brace the wheel with your foot, and pull the tire the rest of the way off.
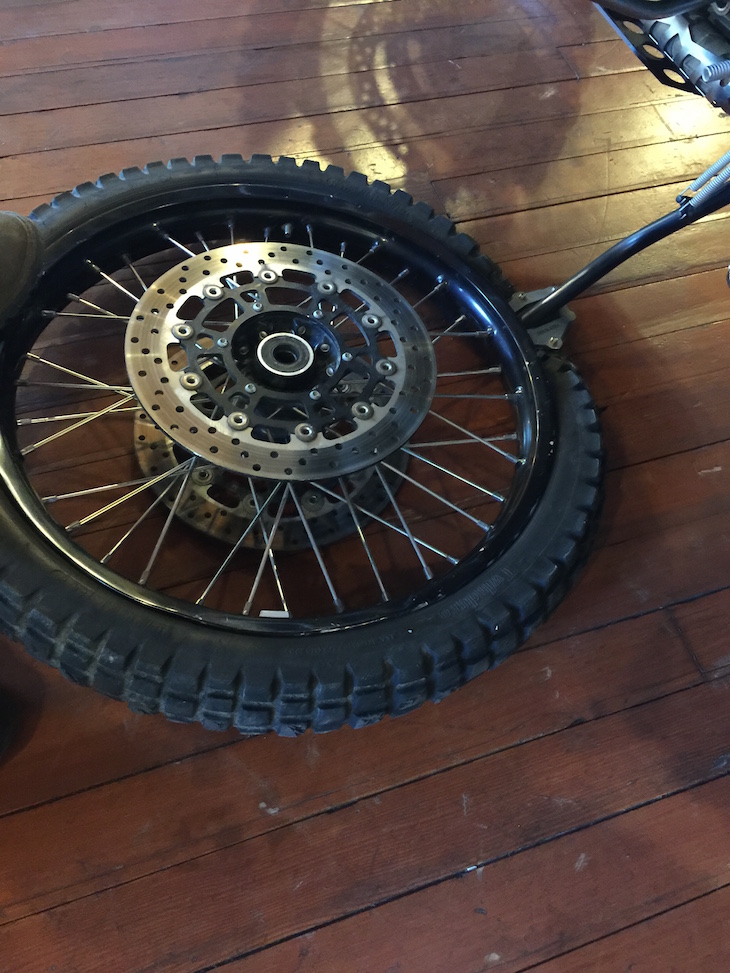
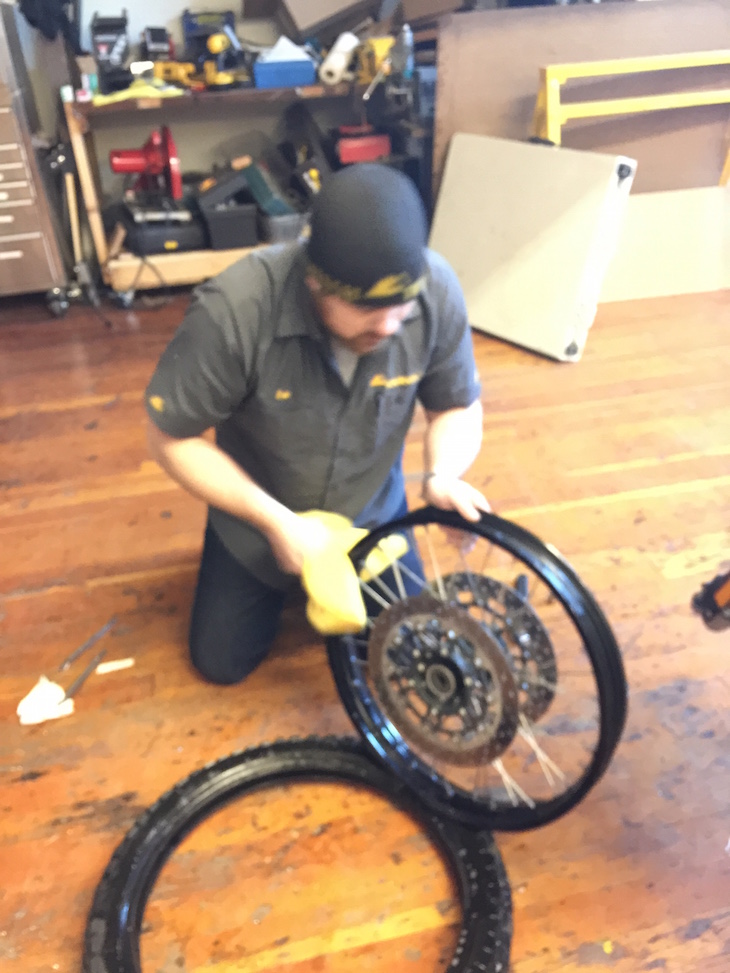
Step Eight: Inspect the wheel
With the tire removed, ensure the rim-strip is intact (tube type and KTM tubeless only). In the case of a tube type tire a few wraps of duct tape can be used to replace a broken or damaged rim-strip. Check the rim for burrs or other damage. If the rim has burrs, file or stone them down, if the rim is cracked it is due for replacement.
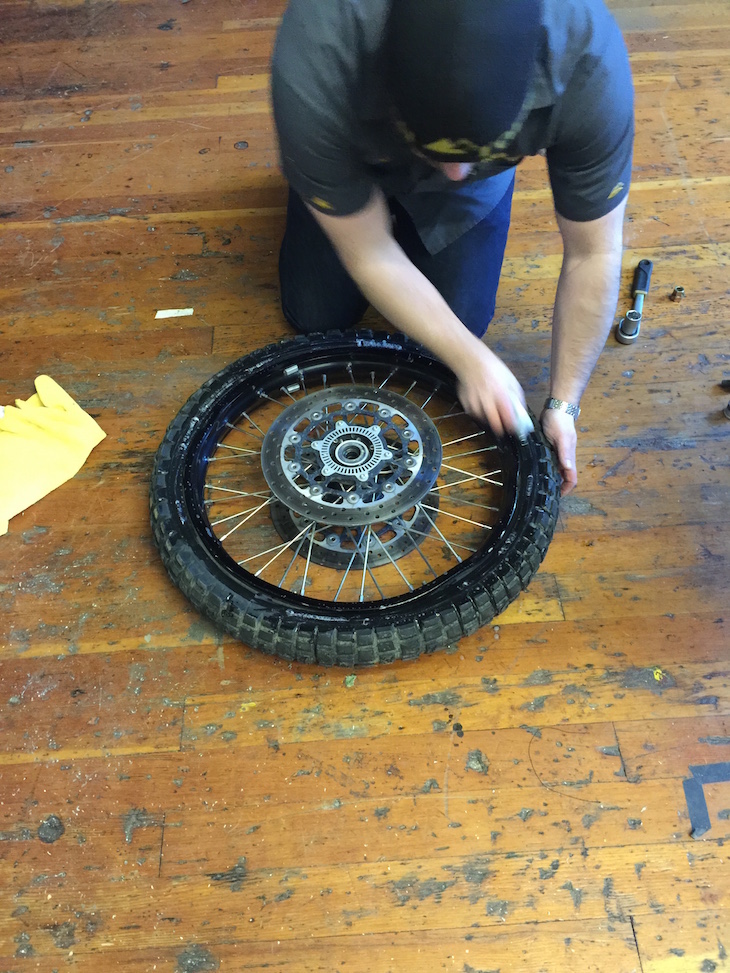
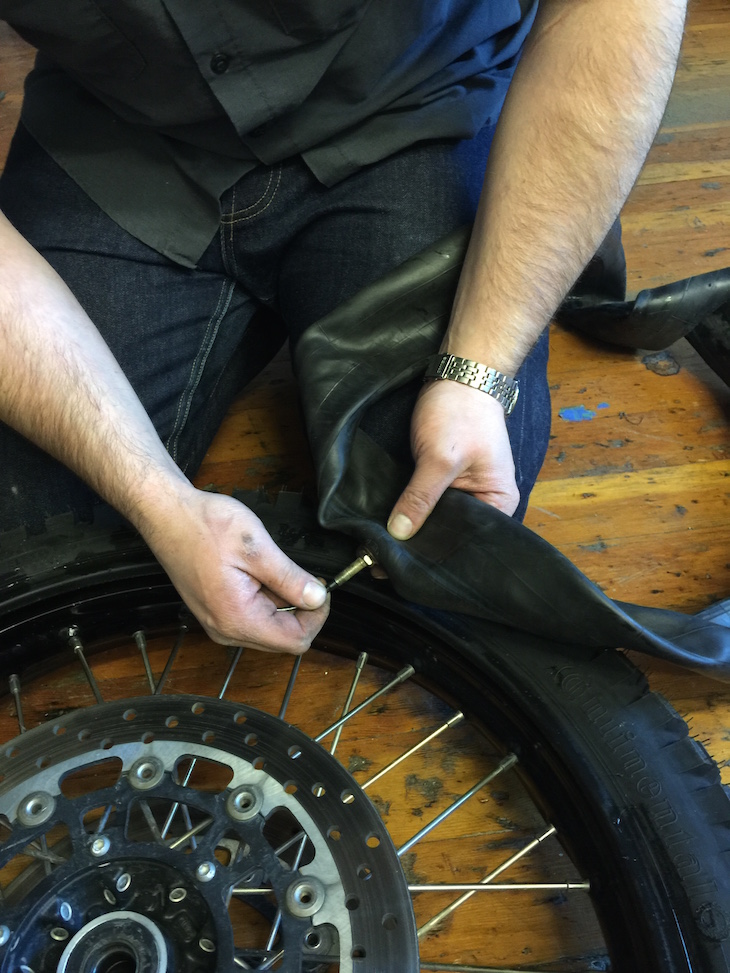
Step Nine: Remounting the tire
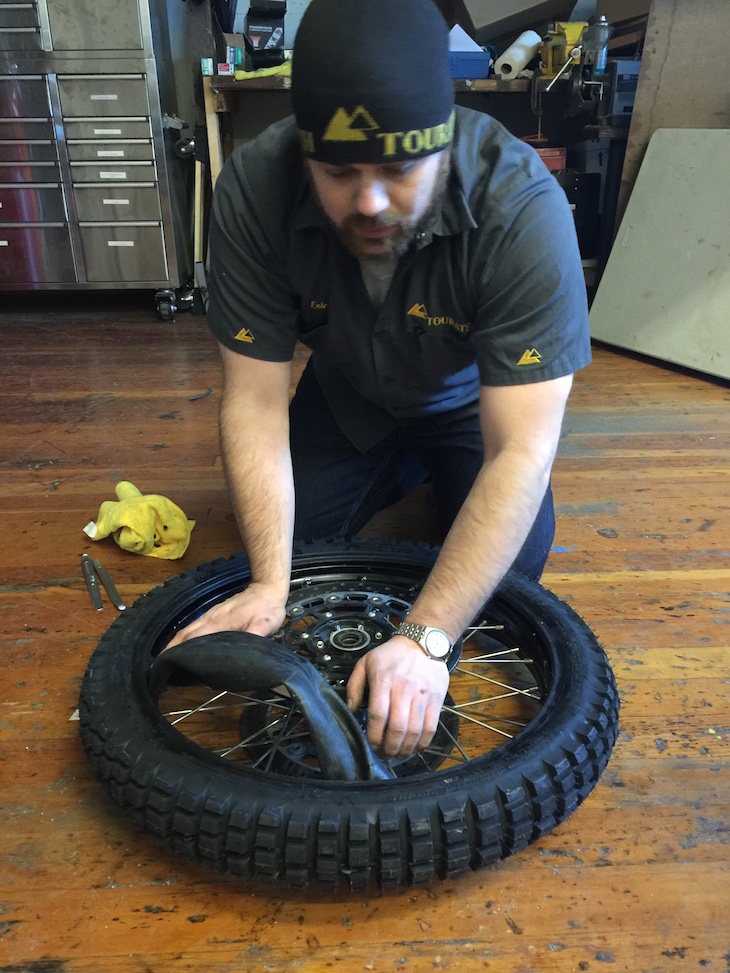
Lube the tire in the same manner as during removal. Lay the tire on the ground, place the wheel on top of it (with the bead-lock inside the tire if so equipped), and get the first bead over the rim. This might take a tire iron to assist in the process, though sometimes the wheel can be pressed onto the wheel. Once the first bead is on the wheel, insert the tube. I prefer to use a valve stem fishing tool to make this easier. Load the nut for the valve stem over the cable of the fishing tool before running it through the hole and threading it into the valve stem. Stuff the tube into the tire, it is best to have a little air in the tube to prevent it from getting twisted.
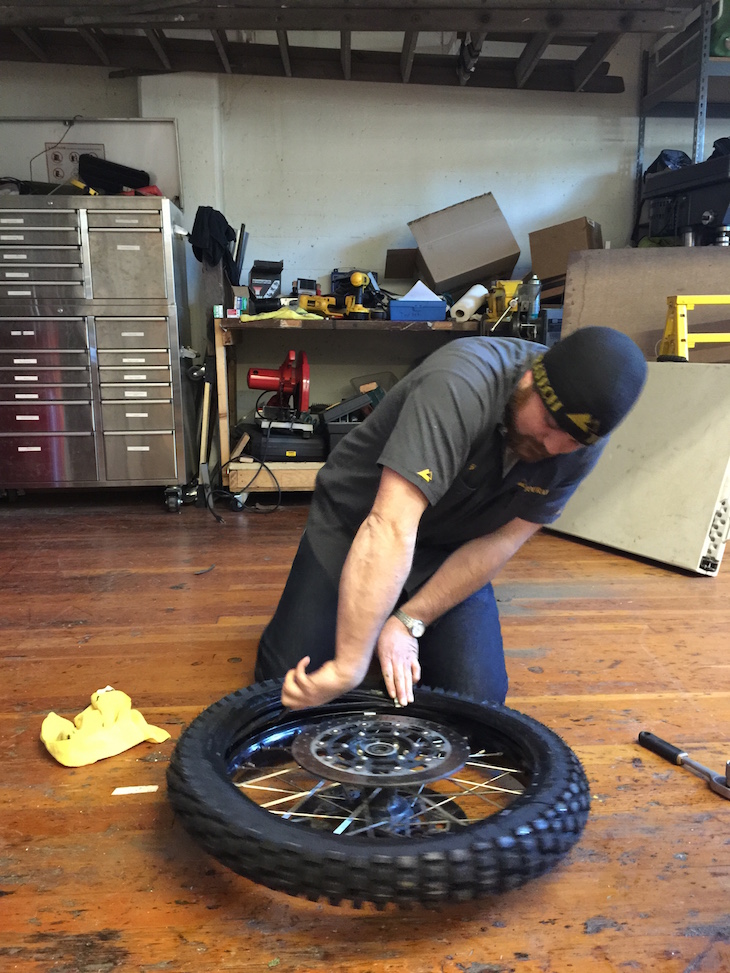
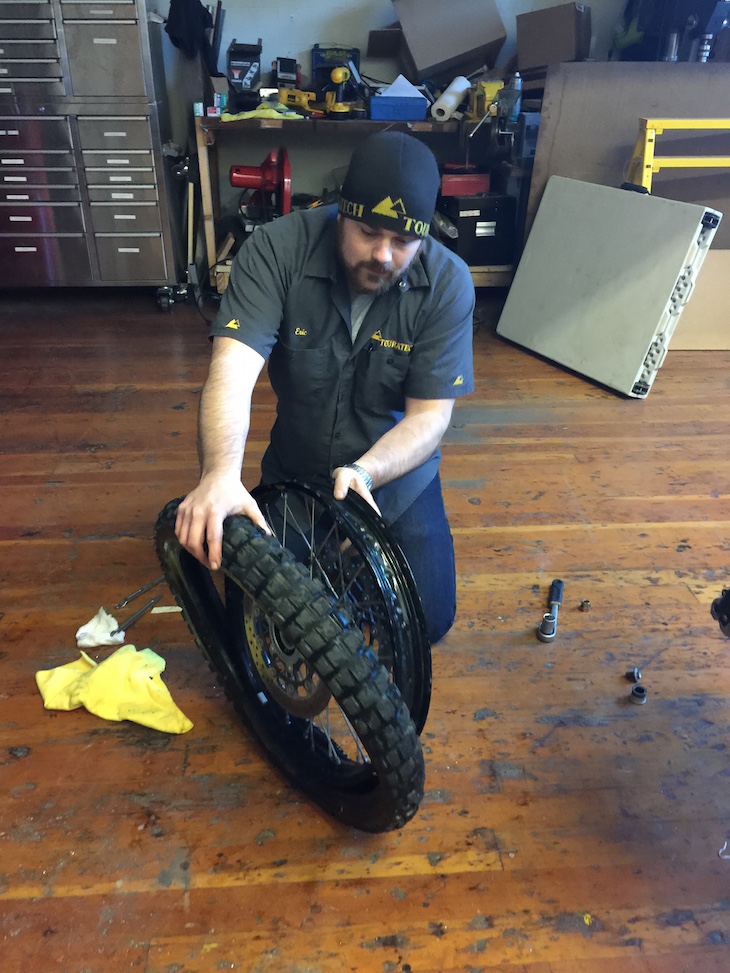
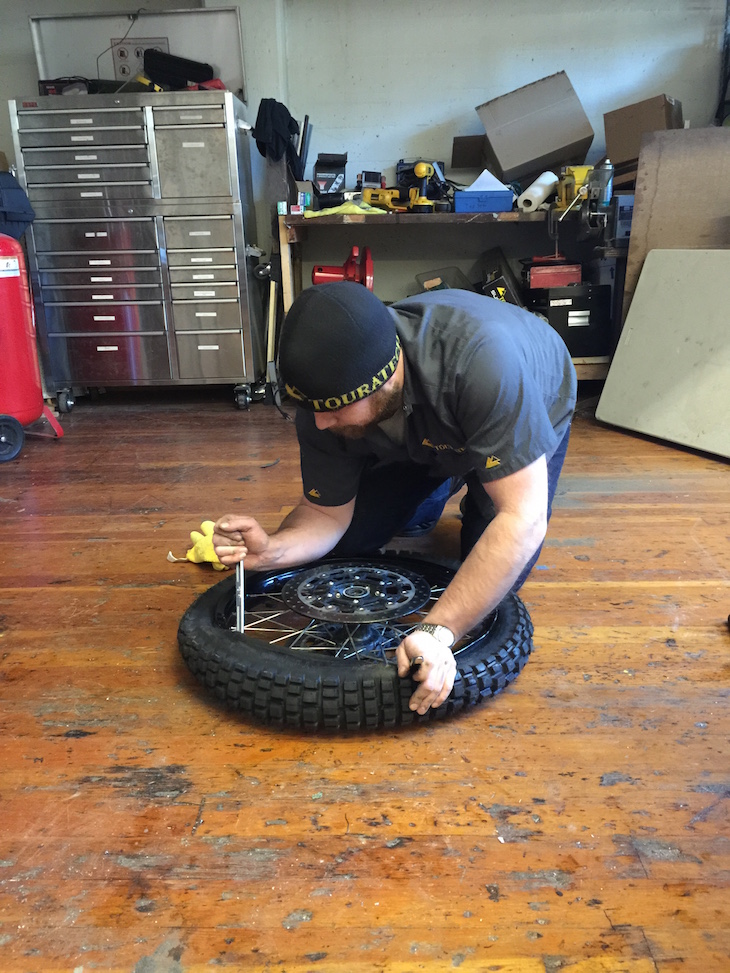
Step Ten: Second bead
Now that one bead is on the wheel and the tube is installed (if required), it is time to get the second bead mounted. If a bead-lock is present, start in the same fashion as during removal: With a tire iron on either side of the bead lock. Once that first part of the bead is over the rim, start working one tire iron around the bead. Be careful to not pinch the tube during this process, if you do not bring the tire iron past perpendicular to the rim this will help prevent pinching. Keep the mounted part of the tire inside the center trough of the rim and slowly, a few inches at a time work around the tire. Once the second bead is mounted, fill the tire with air. It can take 30-40 psi to get the bead to fully seat. Don’t be afraid to air the tire up past what you are running, it is easy to air it back down. Once the tire is at pressure I like to hold my ear to the sidewall and see if I can hear a leak. At this point tighten down the nut for the valve stem and bead-lock.
Step Eleven: Reinstall the wheel
Making sure all of the spacers are back where they belong, get the wheel back in place and tighten everything down. Using a flathead screwdriver to spread brake pads in the calipers can make this task easier. Make sure to pump the brakes before riding again, as chances are the pads have been pushed in a bit and will not give the instant response you will be expecting.
Additional tips and tricks:
If you are in the field dealing with a flat you pretty much have to play the hand you are given. Trailmaster makes an awesome tire changing mat to give you a clean place to change a tire in the middle of nowhere, keeping your bearing out of the dirt. I normally will use my jacket for a field repair if I do not have a changing mat. For a tire change in the garage bring the new tire in the house to warm it up over night if it is cold outside, this will make it softer and more pliable. On the same note taking the motorcycle for a quick spin to get heat into the tires will also aid in getting the mounted tires off. If you don’t want to work on the floor, 33 gal galvanized trash cans work wheel as a wheel stand, be sure to remove any wheel spacers before losing them in the trash.
To read more of Archambault’s Angle CLICK HERE.
 About the Author: Eric is an incurable motorcycle nut. He’s owned everything from scooters to vintage motocross bikes and now spends much of his time riding and talking about adventure motorcycles. If you have been to the Touratech store in Seattle or called the offices, chances are you’ve talked to Eric. Eric recently came in second place in the adventure class at the Desert 100 Race. He’s a key part of the Touratech race team and when he’s not at the local Harescramble or Enduro event he can be found roaming the Cascade mountains on his KTM 950 looking for new routes for the Touratech Rally.