I bought a Husqvarna TE 450 to race in local Enduro events and ride in the mountains. Once the bike arrived, it was time to improve a few things.
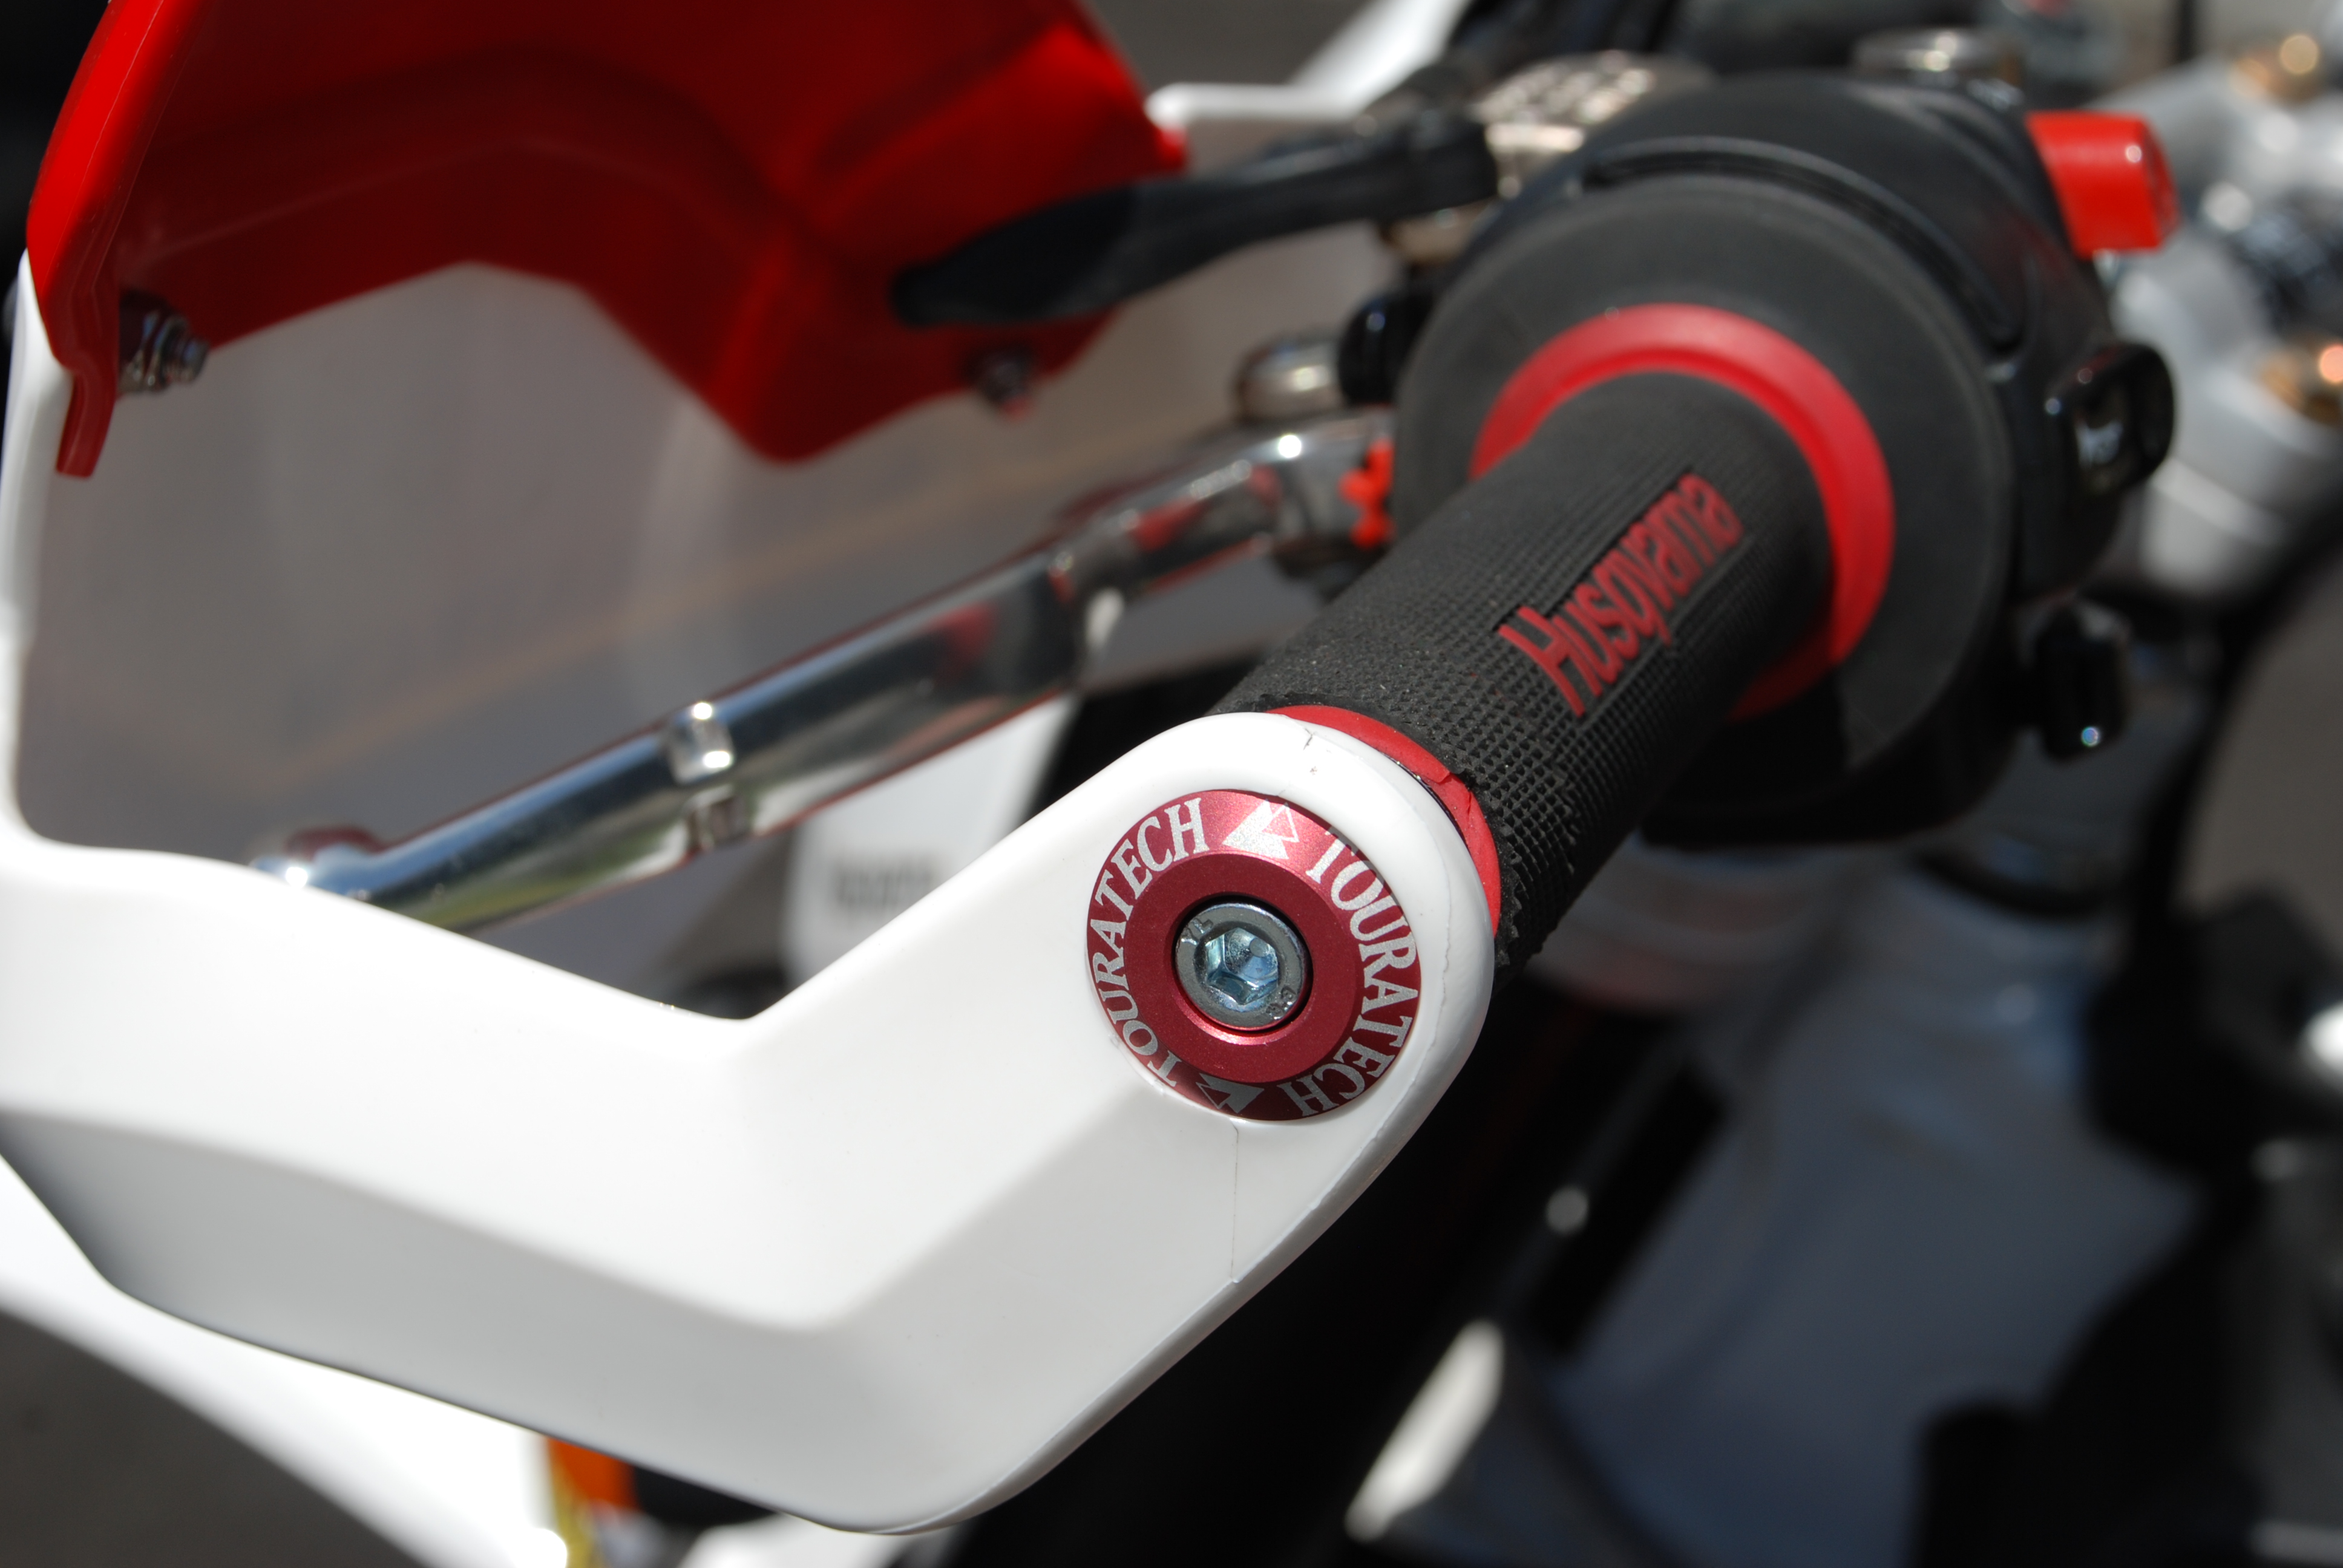
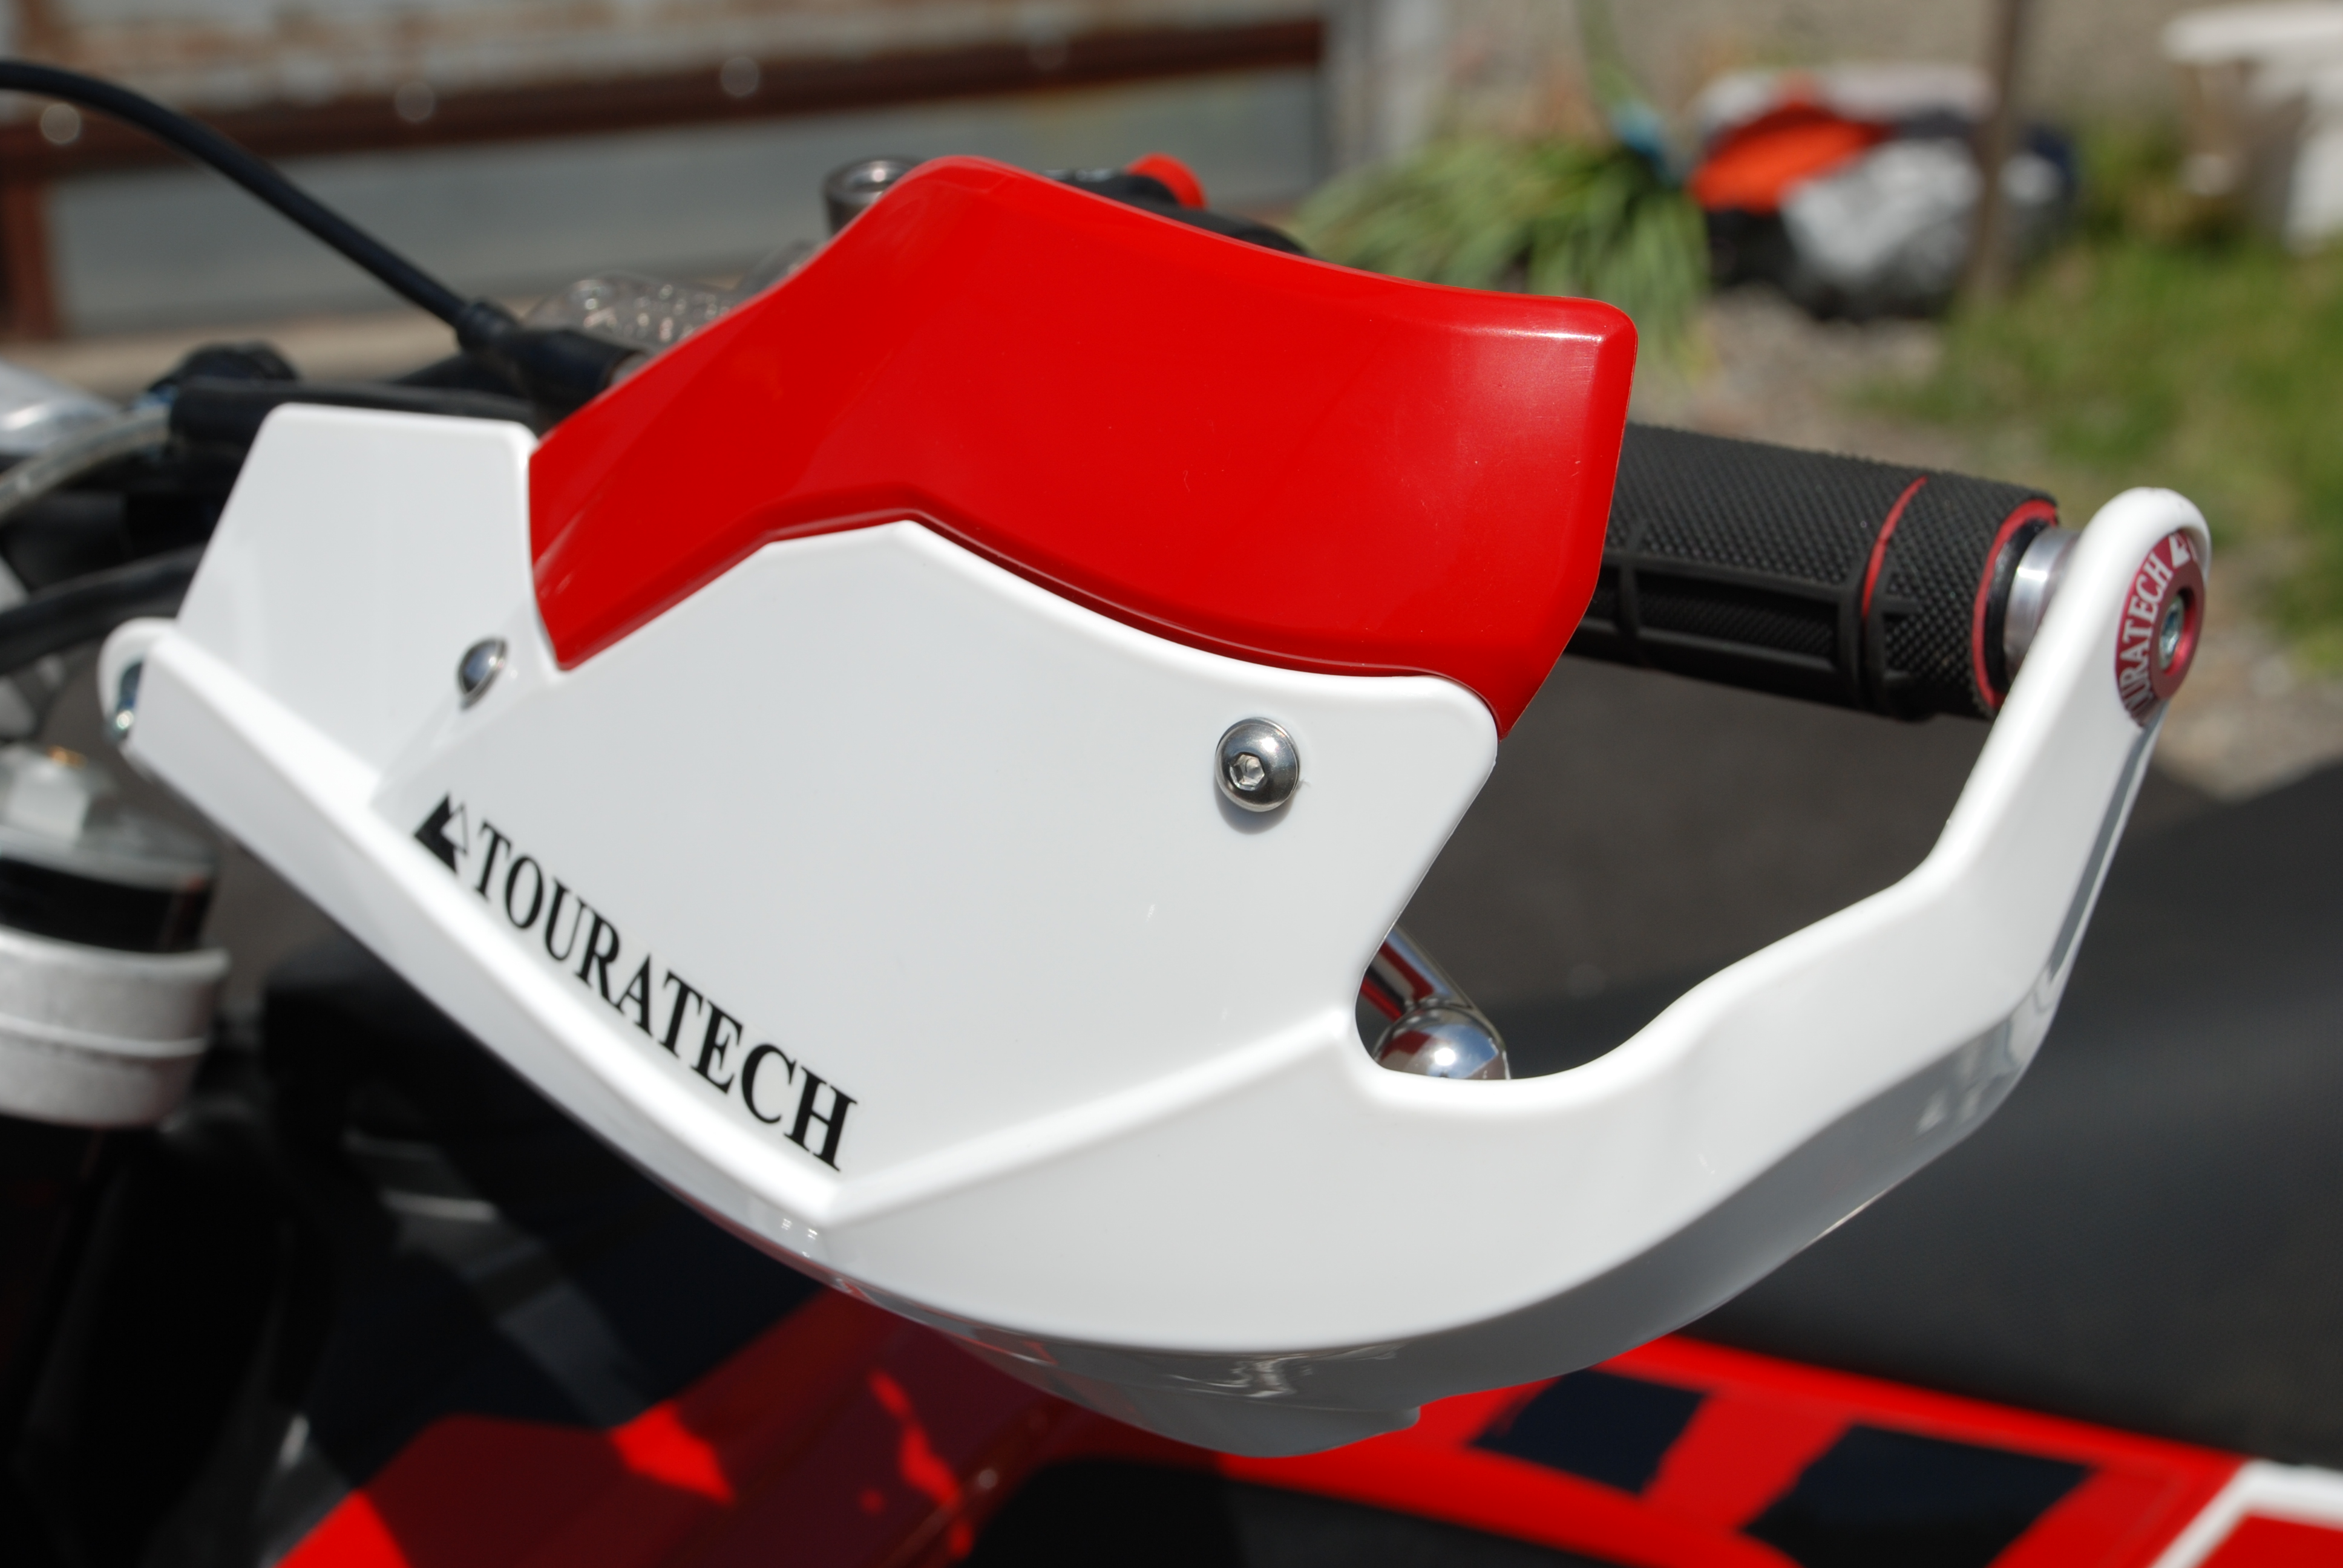
The first additions were Touratech hand guards and extensions. The guards are nearly indestructible and the true benefit is that they flex to absorb impact and then snap back to shape.
Husqvarna Hand Protectors 040-6835
You never have to deal with bent metal on these and they minimize the impact transfer to the bike and the rider. They also are a sharp addition to the sexy red and white Italian color scheme of this Husky.I also threw on the red anodized Touratech inserts just to customize it a bit further.
From there I added recovery straps front and rear. The straps come in handy when hauling the bike up gnarly trails or out of trouble. There are cut-outs on the rear fender for hand holds, but they have an awkward gap between the sub-frame and the plastic and I have yet to get a comfortable enough hold to actually move the bike with them.
The rear strap is a better way to move the back of the 450. I used both straps a number of times to get the bike up Amasa Back trail in Moab, Utah and also many times during the Colorado 600. They work great for getting the bike around super-tight switchbacks and working through sections of big rock.
Next stop was in the areas of protection. I added the Touratech aluminum engine guard (skid plate) to protect the underside of the bike. It is an easy install with just four bolts.
After that I added the the exhaust manifold guard, chain guide reinforcement and the pinion gear guard.
Exhaust Manifold Guard 410-0110
Chain Guide Reinforcement 410-0102
The pinion gear guard and chain guide reinforcement are anodized "Husky Red" and further customize the look of the bike while safeguarding the bike from damage caused by rocks mixing with the drive train.
I swapped the stock 47 tooth rear sprocket for a 50 tooth sprocket and upgraded to an RK XW Gold rivet-style chain. The 50 tooth sprocket was a great move for riding on single track. Now I can run second gear much more of the time on the tight stuff.
The Touratech axle pulls were the next up-grade on both front and rear axles. They are red anodized aluminum construction and feature larger diameter pulls making it easier on your hands and giving you an easier job pulling the axle to change a flat out on the trail.
Dismantling Aid Wheel Axle 410-0173
From there changed out the stock footpegs for the Touratech Rally pegs that lower the footpeg about 1/2" and angle slightly back. This small adjustment makes standing on the bike much more comfortable and makes the bike feel more stable. I am about 5’10" tall, so the Rally Pegs aren’t just for tall guys.
While the bike does come with a modest guard for the oil level sight glass, I upgraded to the larger Touratech version which offers more coverage and ads a little color to the engine.
Oil Inspection Protection Plate 410-0121
Prior to the Colorado 600 Trail Awareness Symposium, I added a IMS three gallon tank. We rode 80-100 miles each day with no fuel stops in the mountains of Southern Colorado. I had to shave the front seat mount to get it to fit right, but other than that the install was fairly easy.
Noticing the growing pile of broken mirrors in my garage, I decided to find a better solution. I added doubletake mirrors to the bike after speaking to the inventor of the product, Ned Suesse. I have found that the mirrors tuck away nicely while on the trail and offer better-than-expected visibility when tipped out into road position.
After a few rides on the stock rubber, I upgraded to an IRC Motocross M5B 140/80-18 Rear tire. What an improvement in the loose, soft or muddy terrain. When we rode up some steep off-camber single track in Colorado, I noticed the bikes in front of me losing their back wheels and struggling to keep traction. I was able to stay on the gas because the tire just hooked up on the side hill with those big soft lugs.
Here’s what my TE 450 looked like after a few hours spent installing parts.
Sitting atop the St. Anthony Sand Dunes in Idaho. These dunes stand over 400 feet tall.

View from the top of Amasa Back in Moab, Utah.
Pre-running for the Shelton Valley Enduro in Shelton, Washington.
Riding the "singletrack nobody knows about" with locals near Kalispell, Montana.
Day 2 of the Shelton Valley Fun Run near Shelton, Washington
UPDATE
After some hard riding at the Colorado 600, both the front and rear shock on Paul’s TE450 needed to be re-valved and adjusted. Paul decided to take his bike to Konflict Motorsports where Alex Martens rebuilt, re-valved and adjusted the Husky’s suspension.
Featured below are a few photos that Alex took during the rebuild and a description of the work that was completed.
On Paul Guillien’s 2009 Husqvarna TE450 I completed a front and rear revalve. As for his Marzocchi 50mm Shiver forks, this consisted of modifying the midstroke piston, converting it from a check plate style to a modern floating mid-valve. I also modified the low and high speed compression stack, as well as modified the rebound damping to a more progressive style based on Paul’s riding ability and terrain he rides consistently.
As for Paul’s rear Sach’s shock, upon disassembly it became apparent that the rebound circuit had at one point and time disassembled itself which in turn damaged the rebound needle, nut, and spring which were all replaced.
I modified the stock pistons, and adjusted the low and high speed compression stacks to suit his riding ability and the terrain he rides consistently. I assembled the unit with high quality Maxima Light fluid, and recharged the unit with nitrogen.
This setup will provide a much more consistent, progressive feel to the bike while he competes in the NMA series Enduro’s in the Pacific Northwest.
– Alex Martens, Konflict Motorsports
After riding the rocky terrain at the Colorado 600, I decided to add a steering dampner to settle down the handling a bit on rugged terrain. My arms were getting exhausted quickly on the Colorado trails making it abundantly clear why the mountain range is called The Rockies. Jim Rios from BRP set me up with a bolt-on solution that made a huge difference.
This package included the Scotts dampner and the bar risers allowing an under-handlebar mounting location.
This Scotts dampner made a dramatic difference to the way the bike handles. Now I just point and shoot and the bike goes straight with way less effort.
In preparation for the Cowbell Enduro I added a Trail Tech Vector with Remote Handlebar Controller.
This computer is ideal for timekeeper enduros since you can adjust the odometer quickly and easily with your left thumb. The Vector also has a stopwatch feature when you put it into ‘rally mode’ for timekeeping.
The remote switch is mounted clutch side on the handlebar and is operated by pressing the buttons with thumb. As with most Trailtech products, the Vector works flawlessly.
Next step was to add the Touratech Compact Roadbook Holder. The plexiglass top cap snaps snugly into place and offers a clear view of the roadbook. The control knobs are easy to use and everything works well on this roadbook holder.
I used an Enduro Engineering GEEAD triple clamp mount to secure the roadbook.
Now that I have the suspension, ergonomics and protection sorted out on the bike, there is still one pesky problem. The bike has a tendency to "flame out’ at low RPMs. I called James Dean of JD Jetting to see if he had any suggestions for tuning the fuel injection system. He suggested the Power Surge 6X Fuel Injection Tuner which allows total control of the fuel delivery. He said the ’09 and ’10 Husqvarna TE450s have Fuel Injection systems that work much better with intervention from aftermarket controllers like his.
Installation was fairly simple and only takes about 20 minutes once you have the seat and tank off the bike. You simply plug the controller inline to the FI module and attach a ground wire then velcro the device to the chosen location after routing the wires. Zip-tie the wires into place and you are done. You’ll want to make sure you have already removed the O2 sensor and installed both the exhaust plug and the map chip plug prior to using the JD Jetting Power Surge 6X module.