Like every adventure motorcyclist, you always want your bike to perform a little bit better. Sure, there are various ADV gizmos and gadgets on the market that will improve certain aspects, but if you really want to take your bike to the next level, put your focus into understanding and improving the suspension setup.
We know – tuning the suspension can be a frightening thing. With all sorts of wacky measurements, clicker settings, puzzling terminology—you name it—it’s easy to think that trying to improve your setup will become a nightmare.
But it doesn’t have to be overly complicated, and we’re here to assist; we broke down the various aspects of a motorcycle’s suspension setup into their most basic forms so you can be confident in making changes for the better.
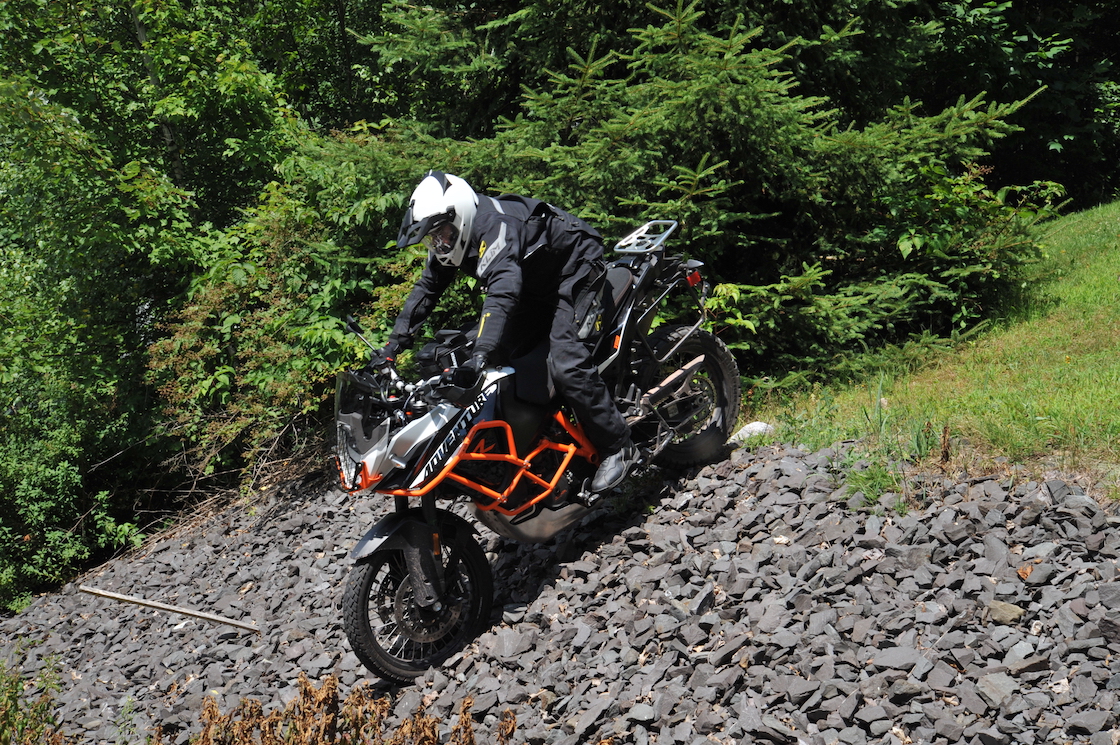
Setting Your Sag
Having a proper sag measurement on your ADV bike is the single most important factor to an ideal suspension setup, period. From here, this will act as a baseline when tuning any other setting on the suspension.
In simple terms, free sag is the distance (or measurement) that the motorcycle settles under its own weight with both wheels on the ground. Furthermore, race sag refers to the same measurement, but with the added weight of a fully-geared rider—this is the number we should pay most of our attention to.
Having either too much or too little sag will affect the geometry of the motorcycle, which impacts its behavior both on road and off road. In general, most adventure motorcycles ride best with 30% race sag of its total suspension travel.
In case you’re unfamiliar with how to find and adjust your sag measurement, we’ve broken down the process in a previous article. Grab a couple friends, a tape measure and riding gear, and you’ll be on your way to the perfect sag number!
Remember that setting your sag isn’t just a one-time operation. Especially if you are an ADV or dual sport tourer, adding weight to your motorcycle is going to affect its sag numbers.
Large bags, Zega panniers, or other accessories are going to cause the motorcycle to squat more than it normally would. Setting off on a long road trip with a hefty load? Be sure to check out that sag number with the bike fully loaded before departing.
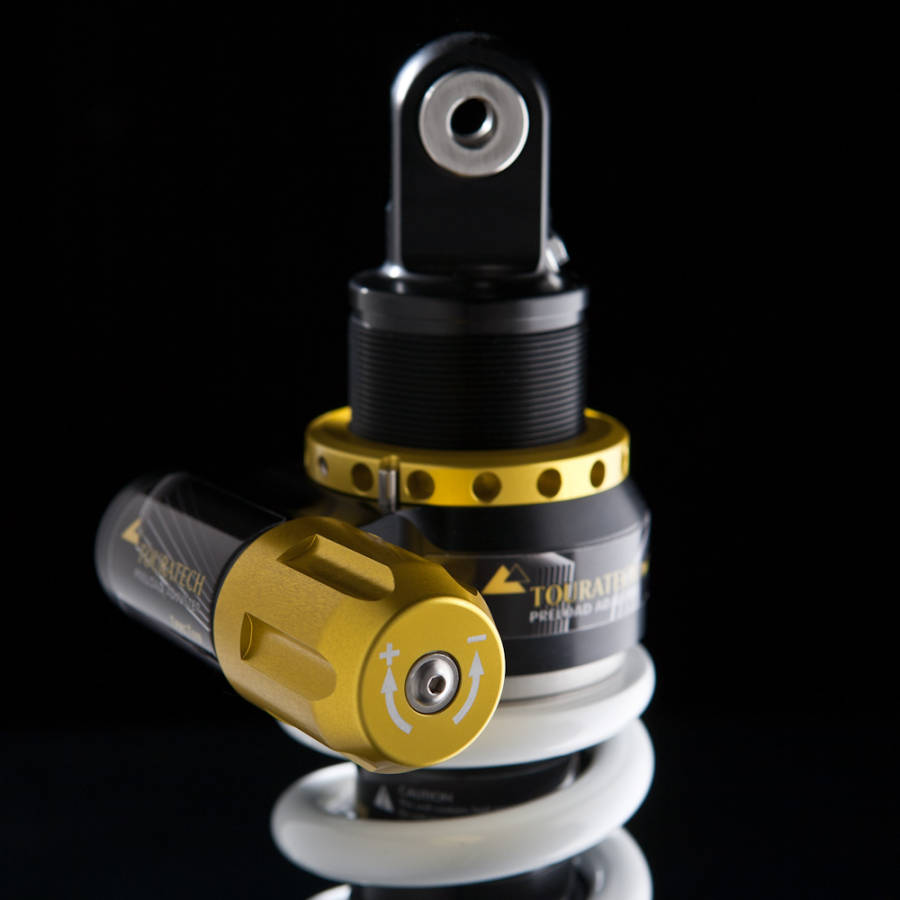
Playing with Preload
Suspension preload is the science behind finding the correct sag numbers, but it is very simple. Preload is the measurement of which your suspension’s springs are compressed when installed and the suspension is at full length.
Adjusting the preload affects what is called the “preload force”, which is the initial force that the springs exert on the shock—this is what affects the sag. By tightening the adjusting collar or external preload adjuster on the shock you will increase the preload force, which will decrease the sag and vice versa.
Using preload to set a proper sag number is vital in making your motorcycle handle properly. Too much preload will cause the motorcycle to ride high in the suspension stroke and push wide in corners, while not enough will likely reduce the amount of travel you are able to work with on the road.
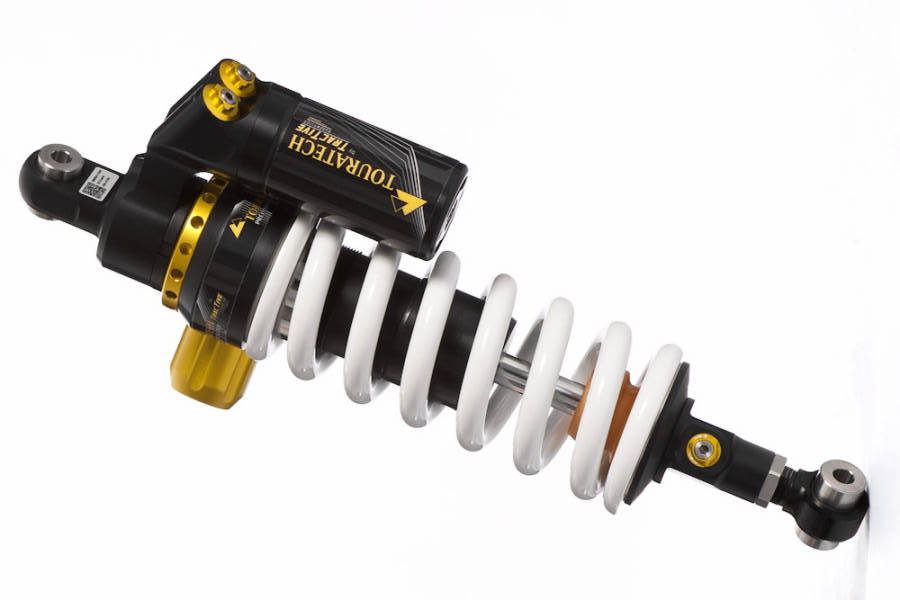
Behind Spring Rates
Unfortunately, preload is often used as a Band-Aid to cover up issues with under- or over-sprung fork and shock springs. For example, its common that motorcycles with too light of springs will have a lot of preload to hold the suspension up and achieve proper sag numbers, but the light spring will let the suspension dive and bottom out much too easily.
Likewise, a spring that heavy will force a very small amount of preload to get the right sag measurement, but will have a very harsh ride.
Thus, finding the proper spring rate is key. To do so, measure the amount of free sag the bike has in the rear of the bike—a ballpark number will be somewhere between 5 and 10 millimeters. Now, measure your race sag looking for the 30% figure.
If the free sag is less than the recommended, but the race sag is correct, you’ll need a heavier spring with less preload. On the other hand, a lighter spring rate would be recommended if the free sag is more than 10 millimeters—or the recommended amount your manual calls for.
Adjusting Your Suspension Clickers
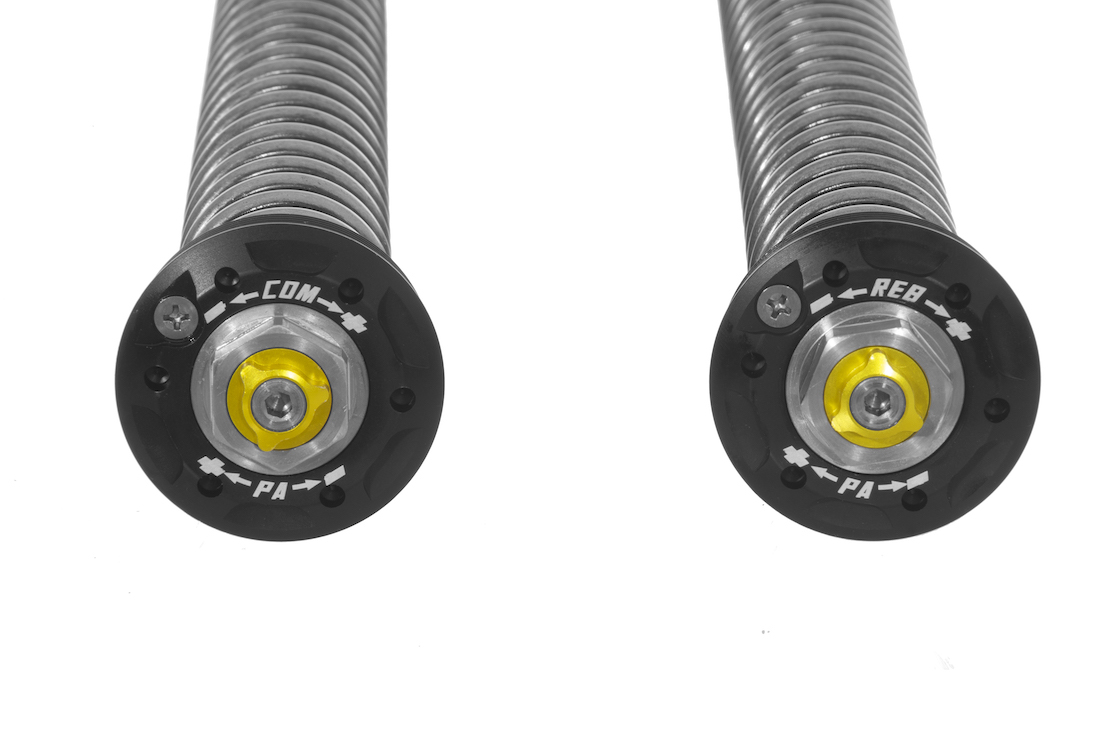
The compression and rebound dampers on your ADV motorcycle’s suspension are also known as clickers, which are usually adjusted via a flat-head screwdriver. These clickers are in charge of controlling the amount of oil that bypasses the internal valving stacks inside your forks and sock.
Small clicks can make big results, especially in terms of performance over bumps or harsh terrain.
It’s important to note that both compression and rebound damping settings are measured from “fully closed” or “fully hard”.
This means that tightening the clicker clockwise until it stops, then counting the clicks as you loosen the screw are counting the number of clicks used.
These settings typically work within a window of settings. That said, if you run out of adjustability, it may be worth talking to a shop about revalving your suspension.
Compression Damping
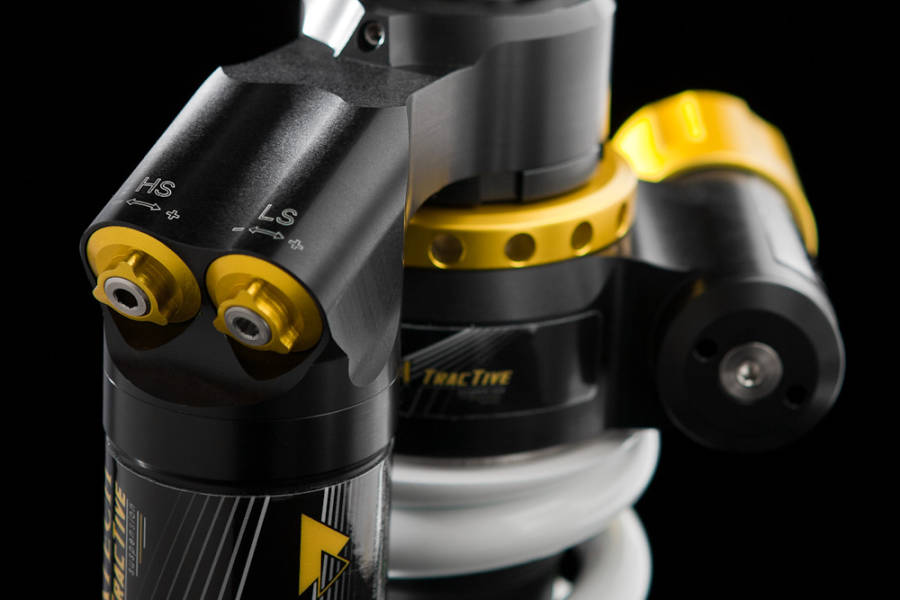
The compression clicker is used to help control the shaft speed of the suspension under load caused by terrain, acceleration or deceleration. Nowadays, most modern motorcycles come equipped with rear shocks capable of tuning both low- and high-speed compression settings, while the front end is a single adjustment.
By adjusting the low-speed compression, you will be changing how the shock will react with low shock speeds—for example, a set of rolling whoops in Baja. High-speed compression on the other hand, controls the damping when the shock is moving at high speeds, like harsh square-edge bumps.
Tuning your compression settings one or two clicks at a time is the best way to find your ideal setting. By having too much compression in the motorcycle, the handling will feel harsh and the suspension will resist using the travel to soak up the road’s imperfections or obstacles.
Having the compression too light will cause the motorcycle to feel unstable and blow through the travel easily. The ideal setting should feel supportive enough to remain stable and handle the route with ease, but not too stiff that it makes for a jarring ride.

Rebound Damping
The rebound setting on your bike’s forks and shock controls the speed in which the suspension returns from fully compressed. Imagine bottoming during full acceleration. Do you want your suspension to quickly pogo back up or slowly return to its normal sag? This is what the rebound damping controls.
Like the compression damping, tinkering the rebound damping should happen at only a couple clicks at a time. Having too much rebound in the suspension can cause multiple issues. Because the suspension will be slow to return with a lot of rebound, it can cause the bike to pack down in a series of bumps, making for a harsh ride. Too much rebound may also hold the front end down in a long corner, which can lead to a tuck.
On the contrary, too little rebound has negative effects of its own. With the suspension returning to normal sag too quickly, the bike will feel nervous at speed and have a difficult time tracking straight through bumps.
Find a setting that is the best of both worlds. The idea here is to get the bike to feel stable at all times, but also not pack so far into the stroke that it never returns to its normal race sag.
For more on suspension, check out the official Touratech-USA Videos page.
