
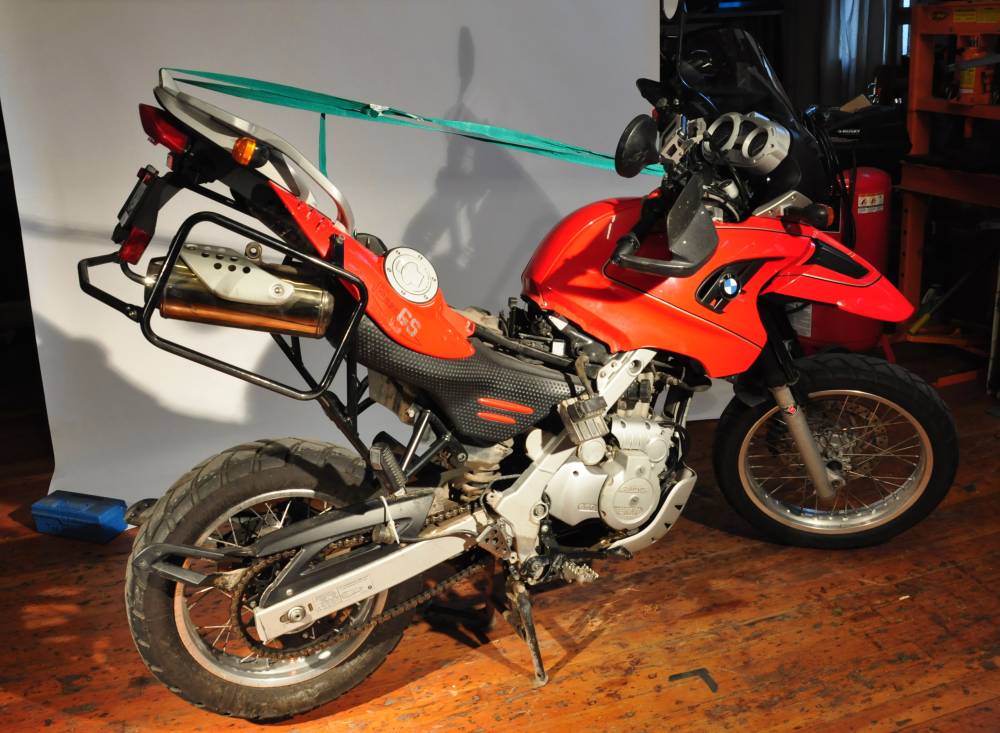
1. Put bike on center stand or bike lift.
2. Remove seat.
3. Remove clutch side exhaust can. This may involve removing the pannier rack:
Loosen exhaust clamp using 15 mm wrench.
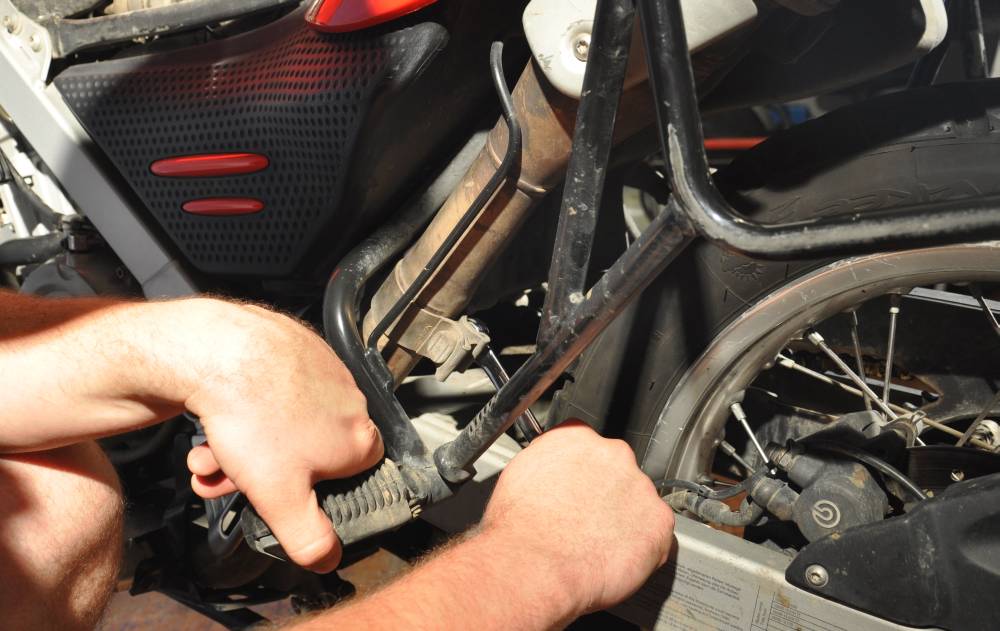
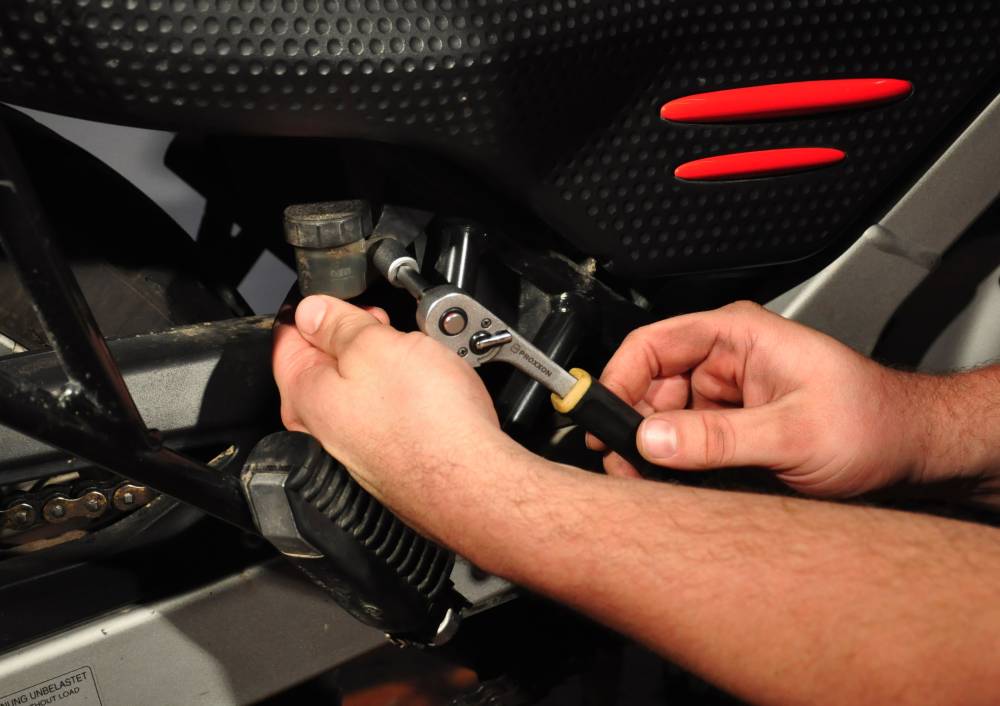
Remove bolt from throttle-side exhaust hanger using T30 torx wrench.
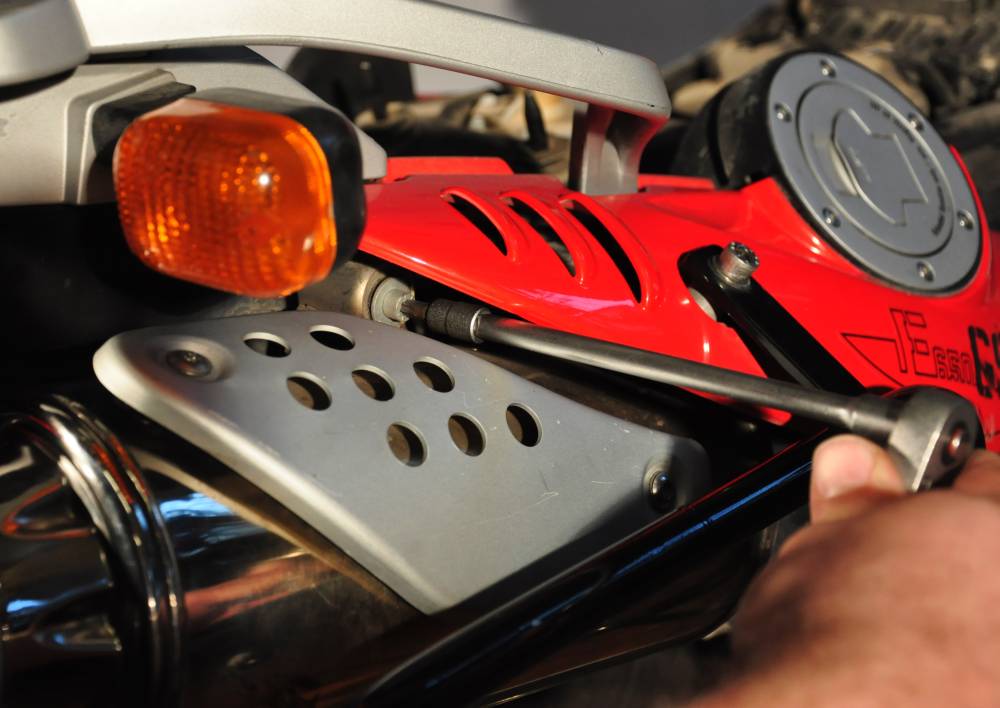
Pull throttle-side exhaust can away from bike to remove from cross pipe.
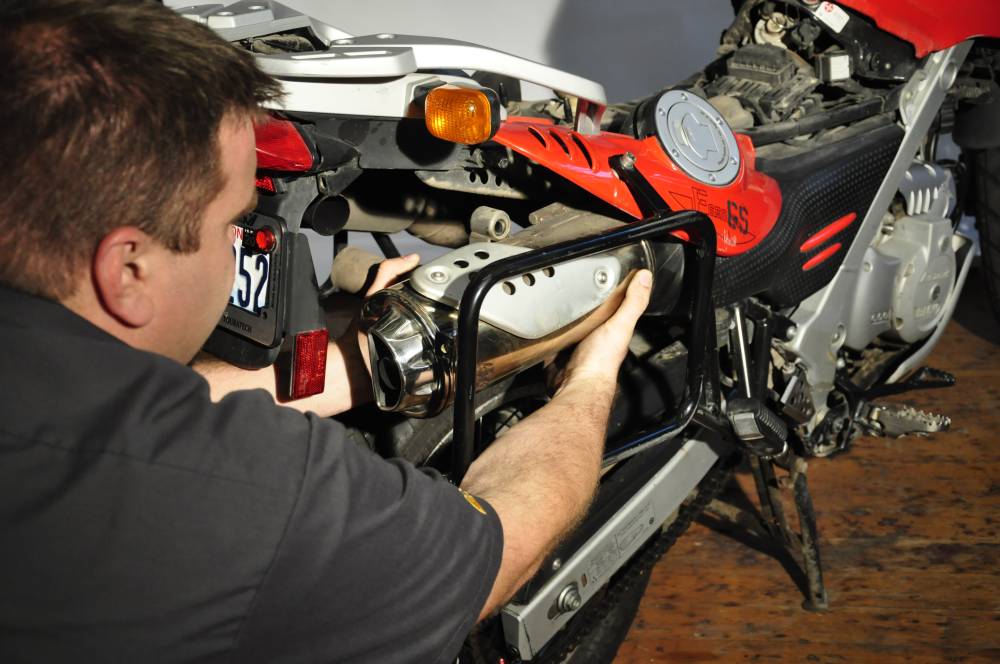
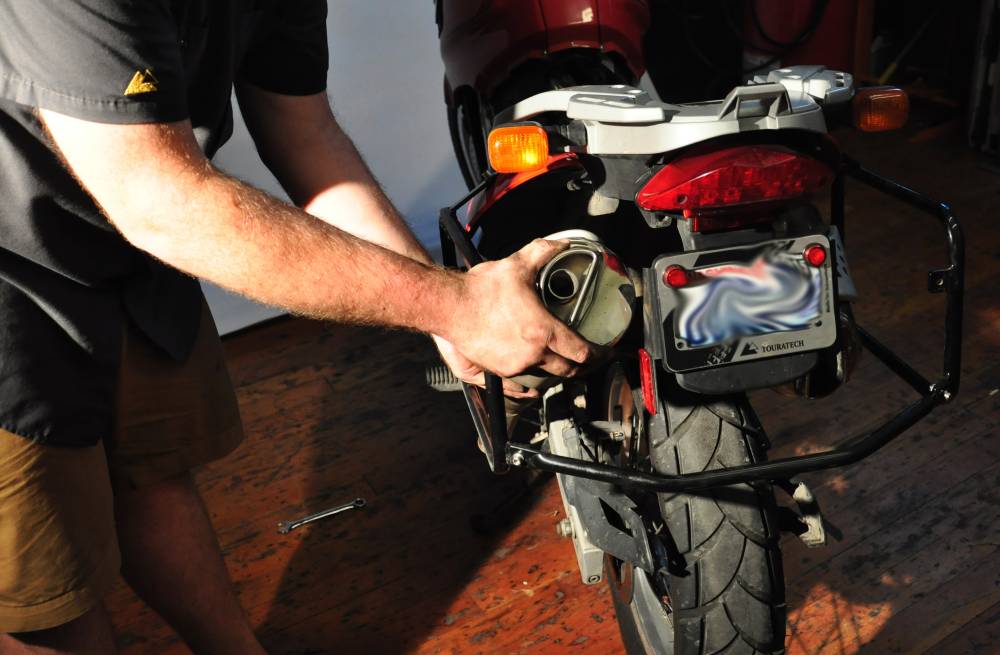
Pull clutch-side exhaust can rearward and remove from bike. May require some elbow grease.
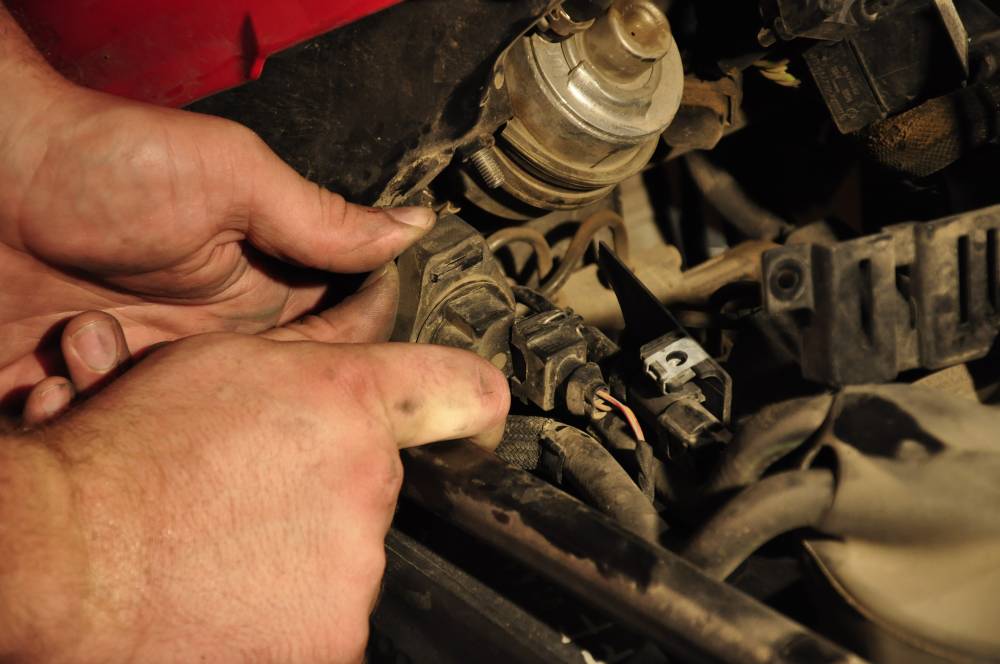
4. Remove brake fluid reservoir using 10mm wrench. Support the reservoir with a piece of string, wire, or zip-tie tied to the motorcycle.
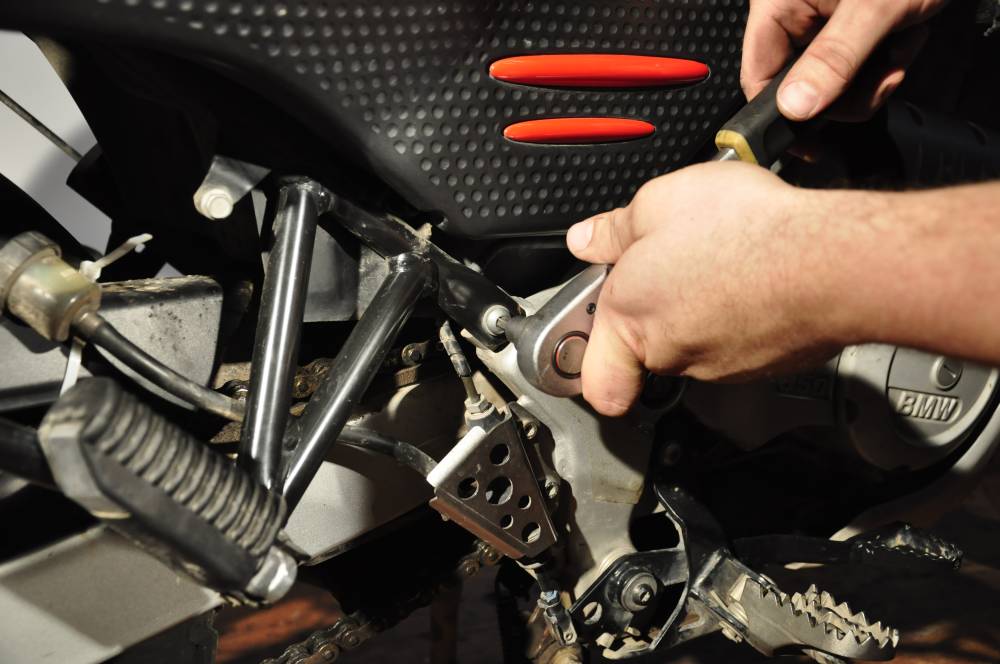
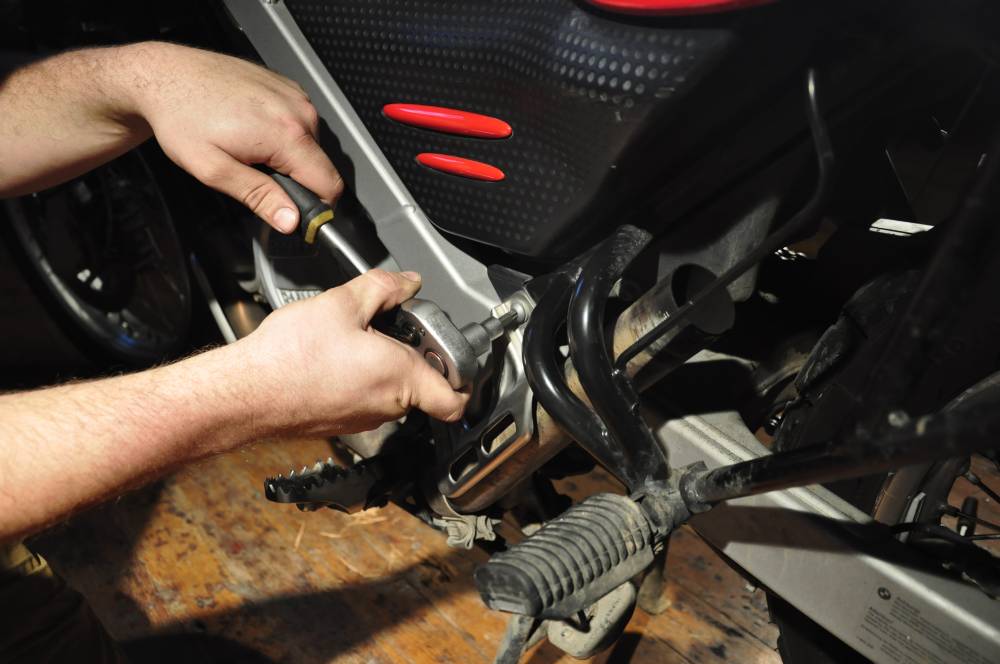
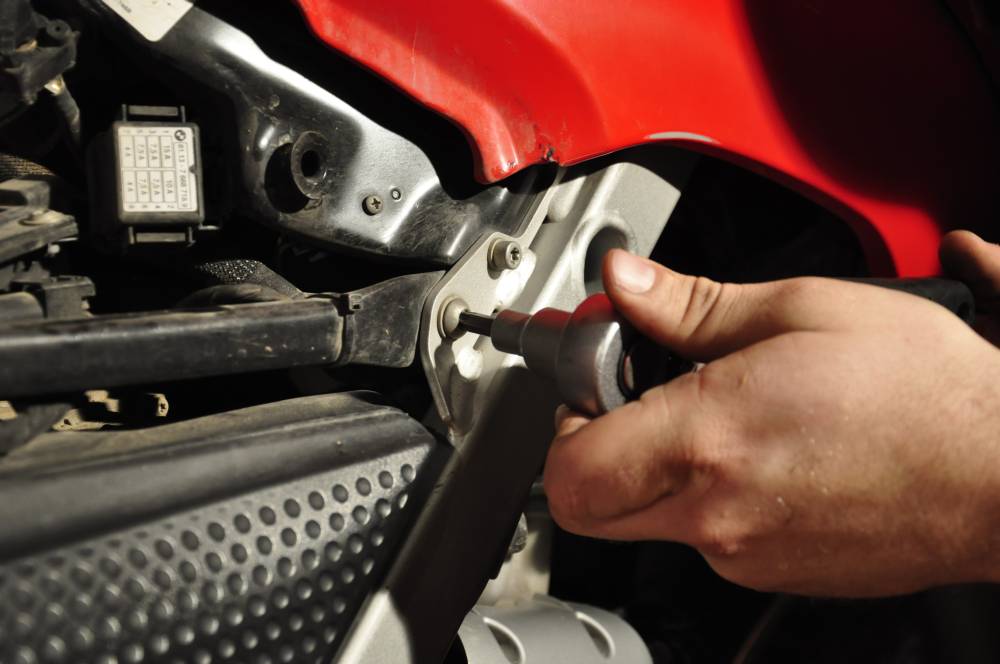
5. Remove both left and right side lower sub-frame bolts and loosen (but do not remove) left and right side upper sub-frame bolts using T40 torx wrench.
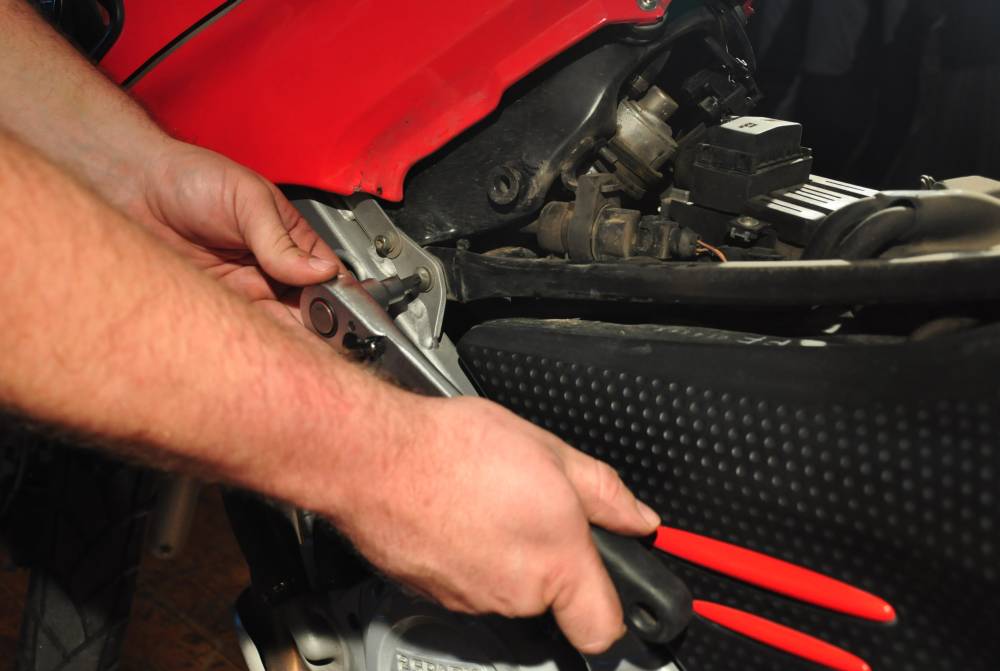
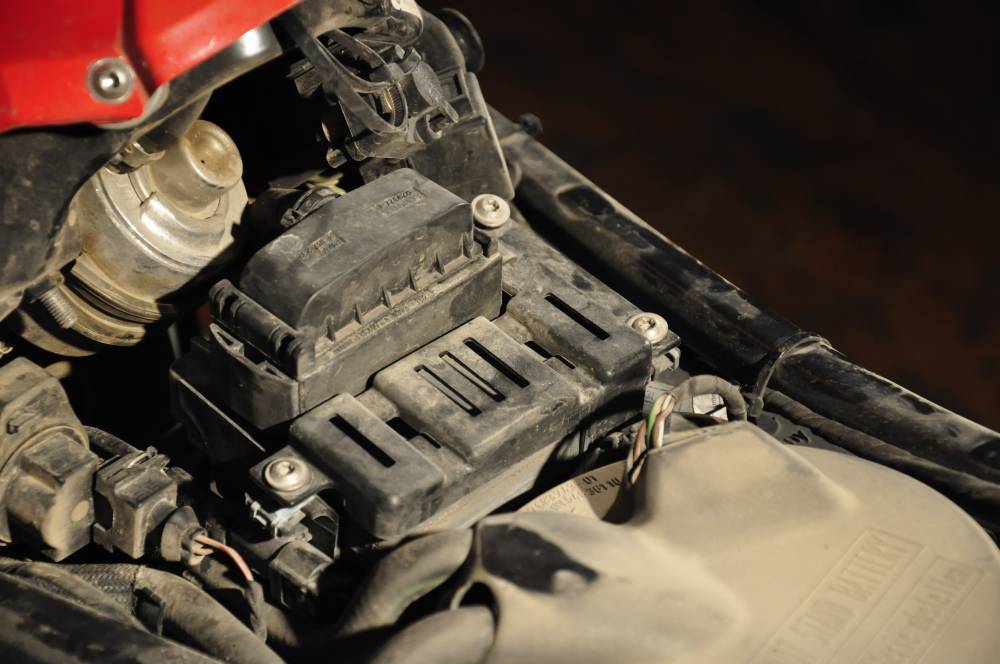
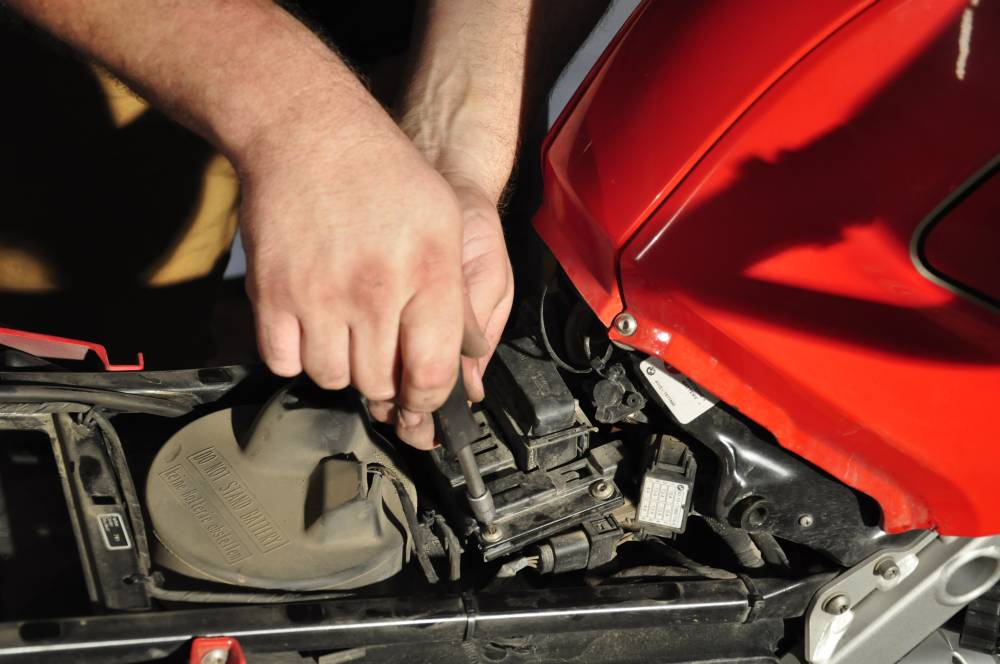
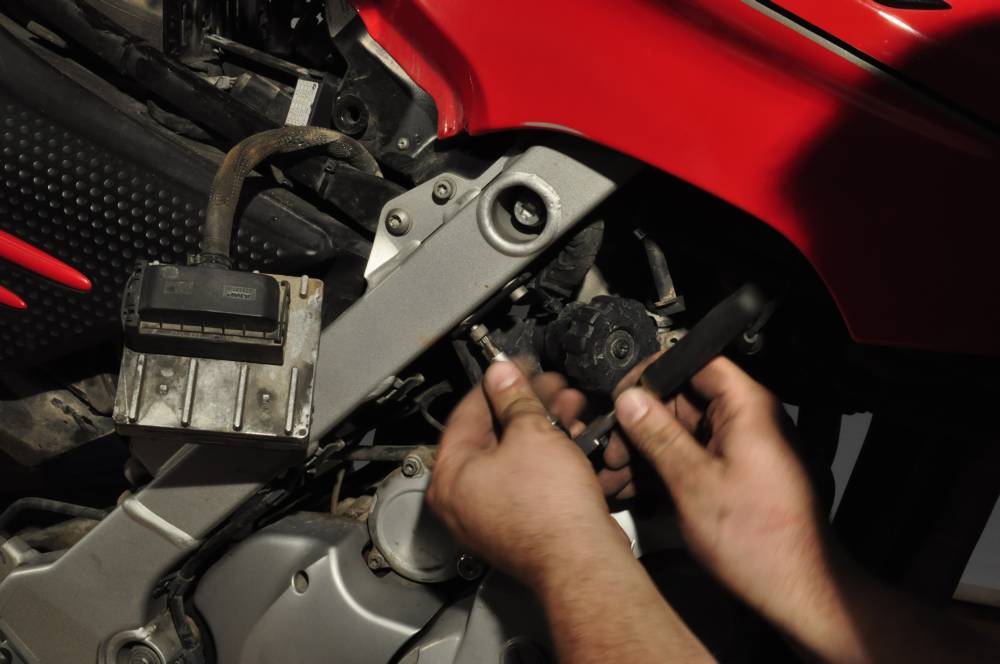
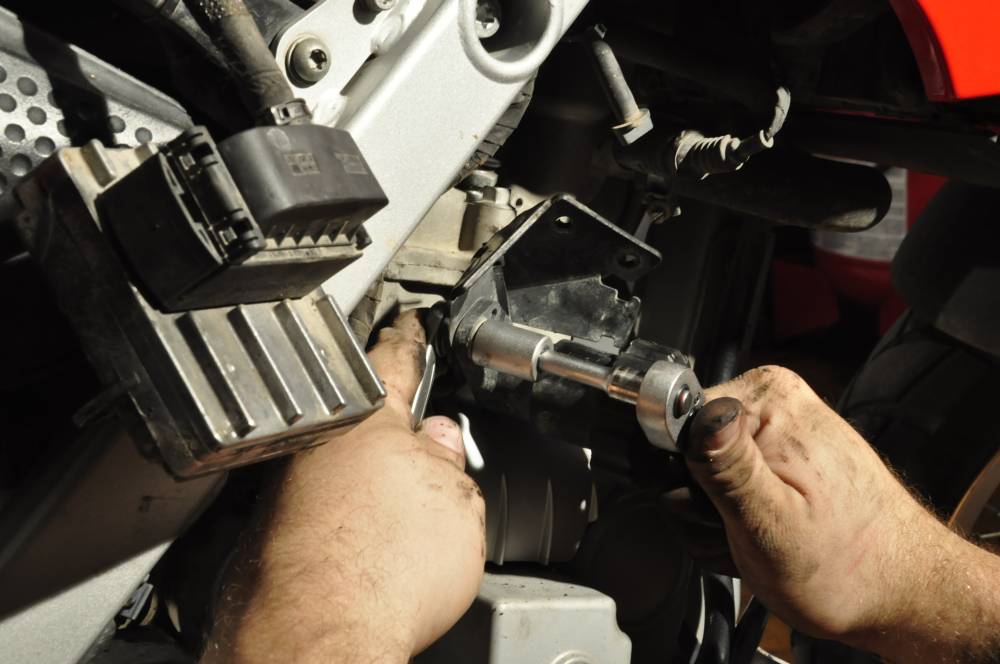
6. Loosen and move aside computer module using T25 torx wrench. Disconnect vacuum module and move aside.
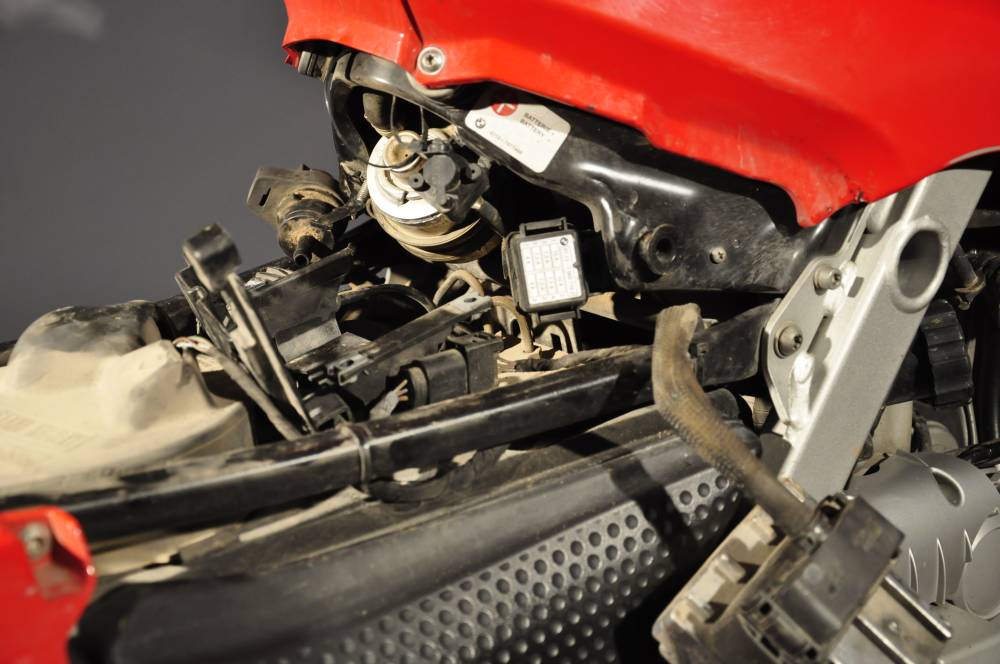
7. Use tie-down strap between tail rack and handlebars to lift sub-frame enough to access upper shock bolt. Watch for any interference while lifting.
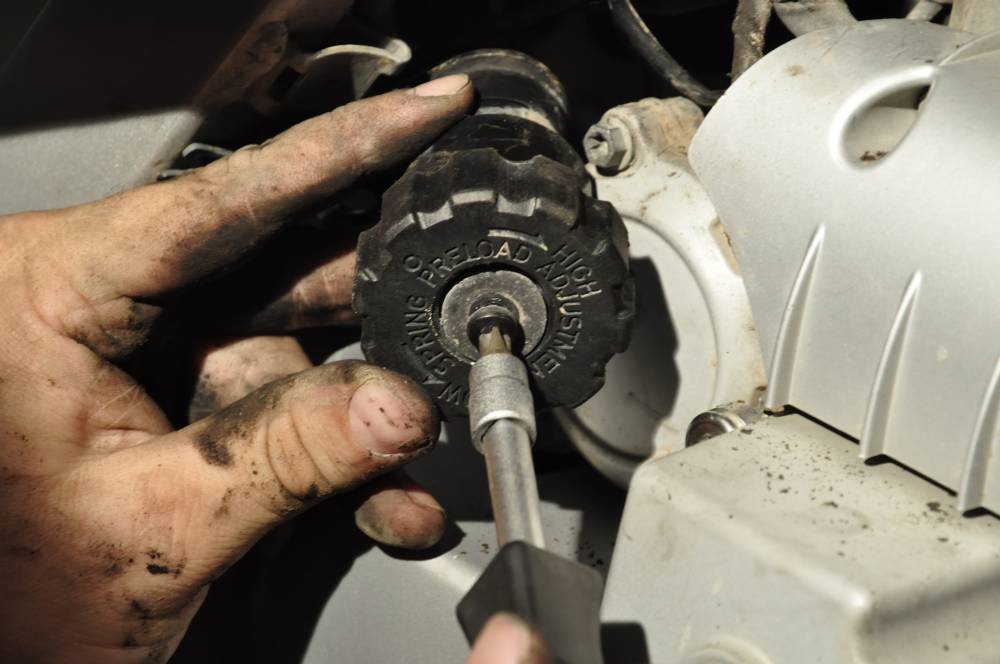
8. Remove plastic knob from preload adjuster using Phillips-head screwdriver.
9. Remove preload adjuster bracket from frame using T30 torx wrench.
10. Remove preload adjuster knob from bracket using 13mm wrench and socket.
11. Remove upper shock bolt using 14mm and 16mm wrenches.
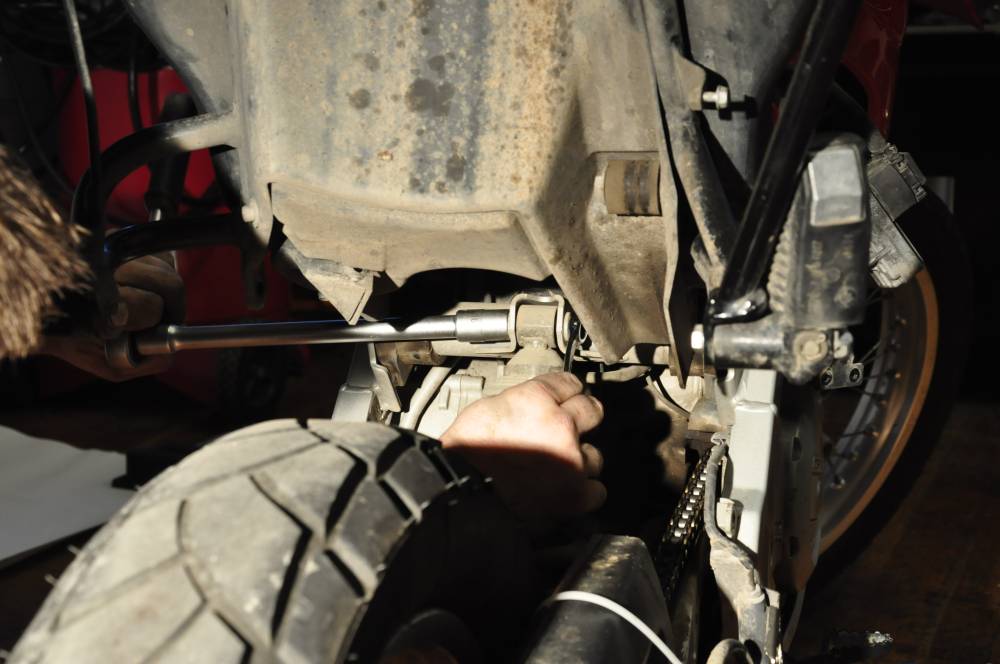
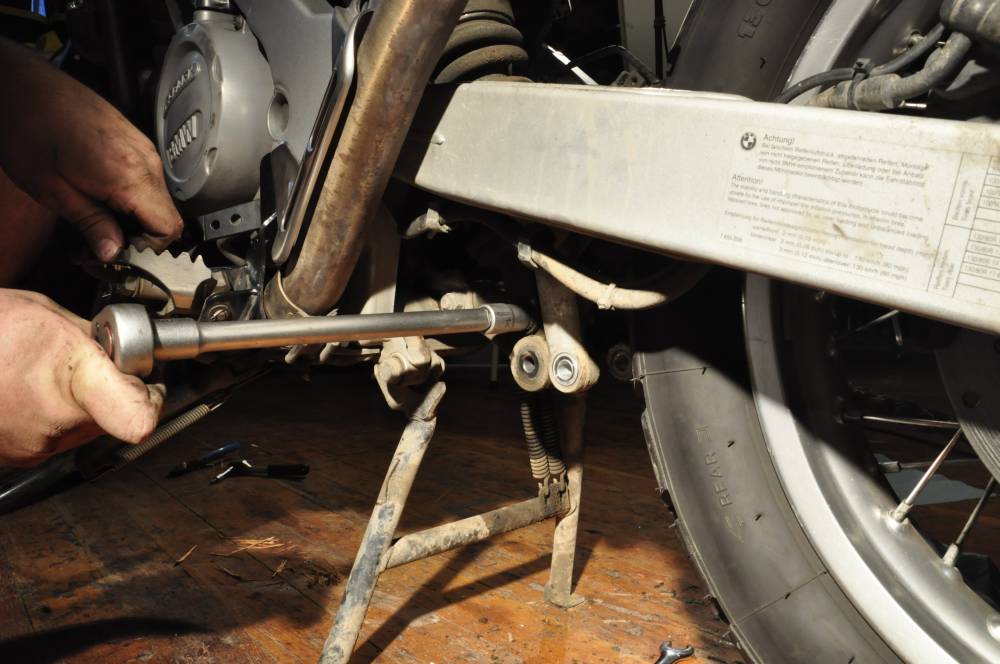
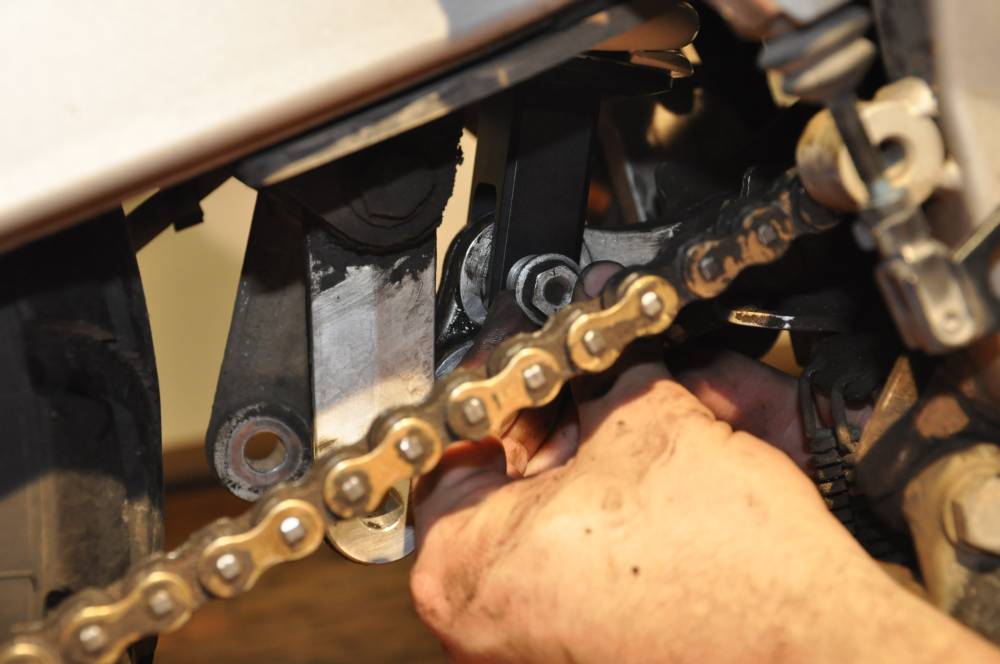
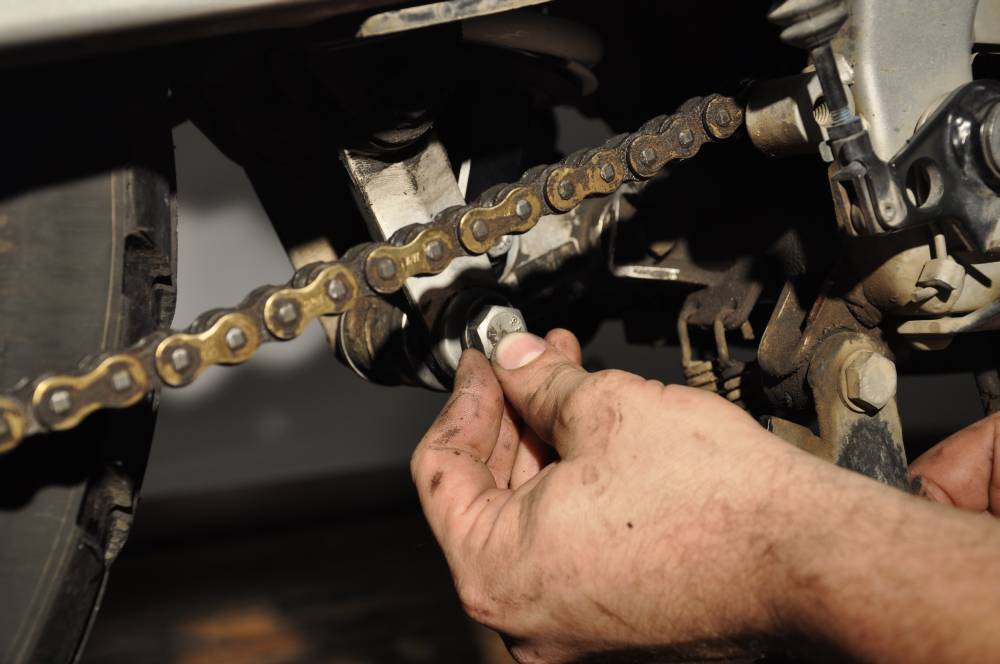
12. Remove lower linkage bolt using 18mm wrench and socket.
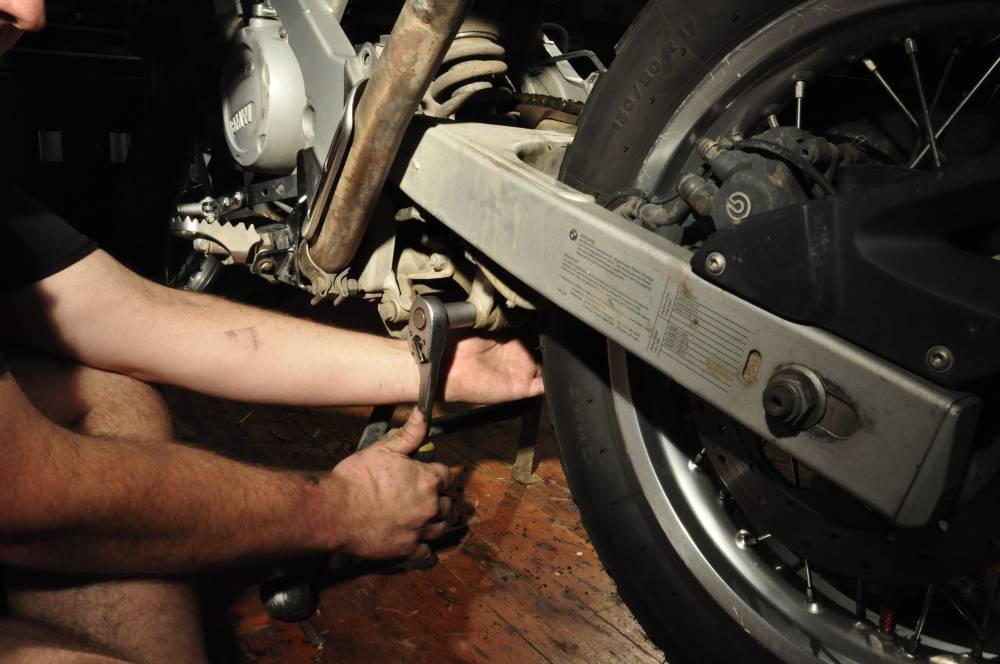
13. Remove lower shock bolt using 14mm socket.
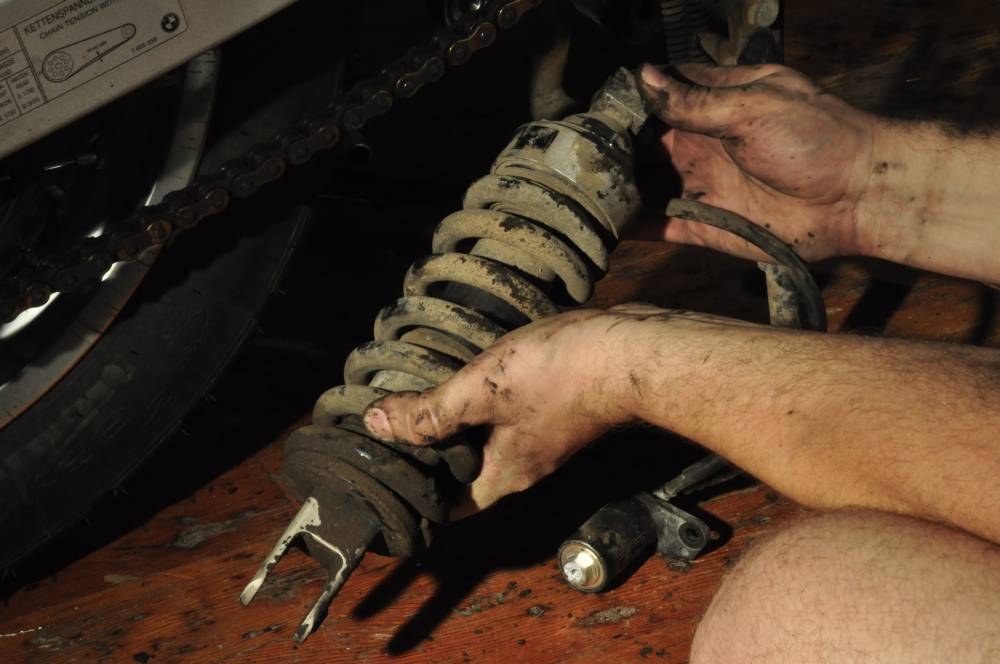
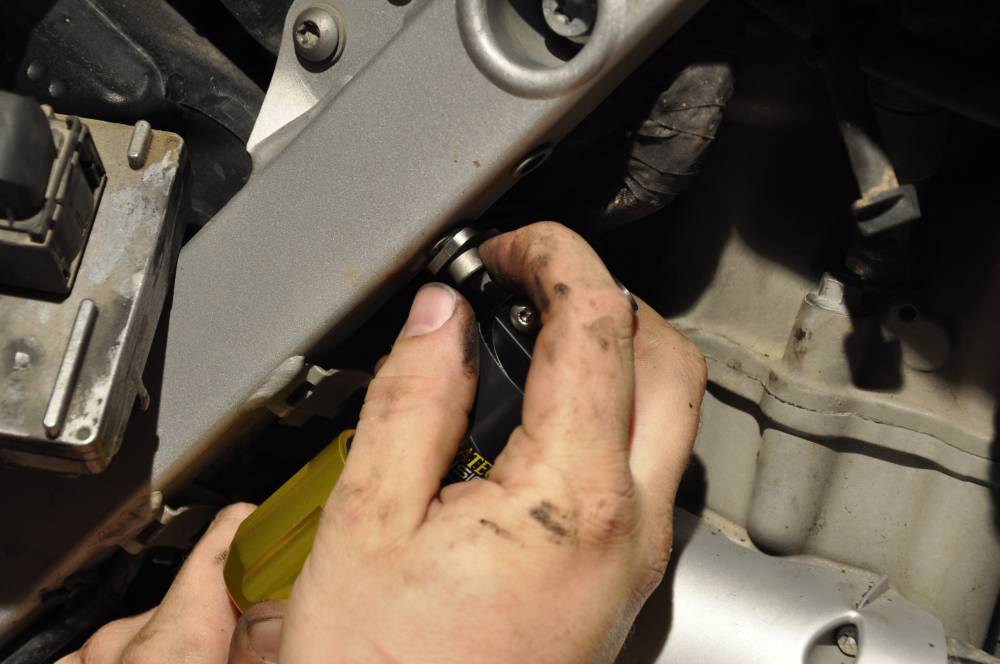
14. Carefully remove preload adjuster knob and shock from rear of motorcycle.
While everything is apart, this is a good time to inspect, grease, and/or replace your suspension linkage and swingarm bearings.
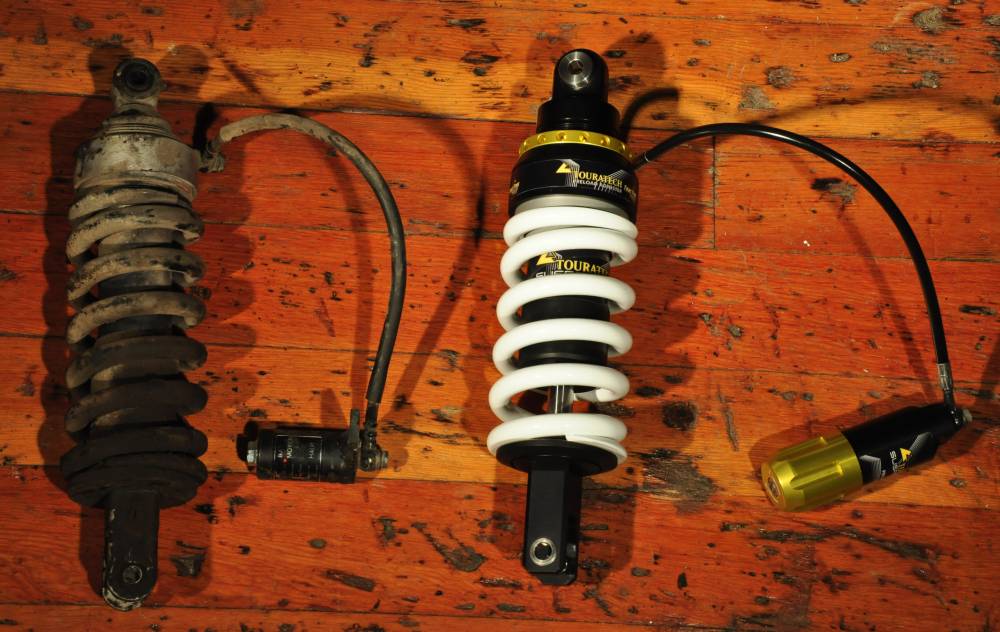
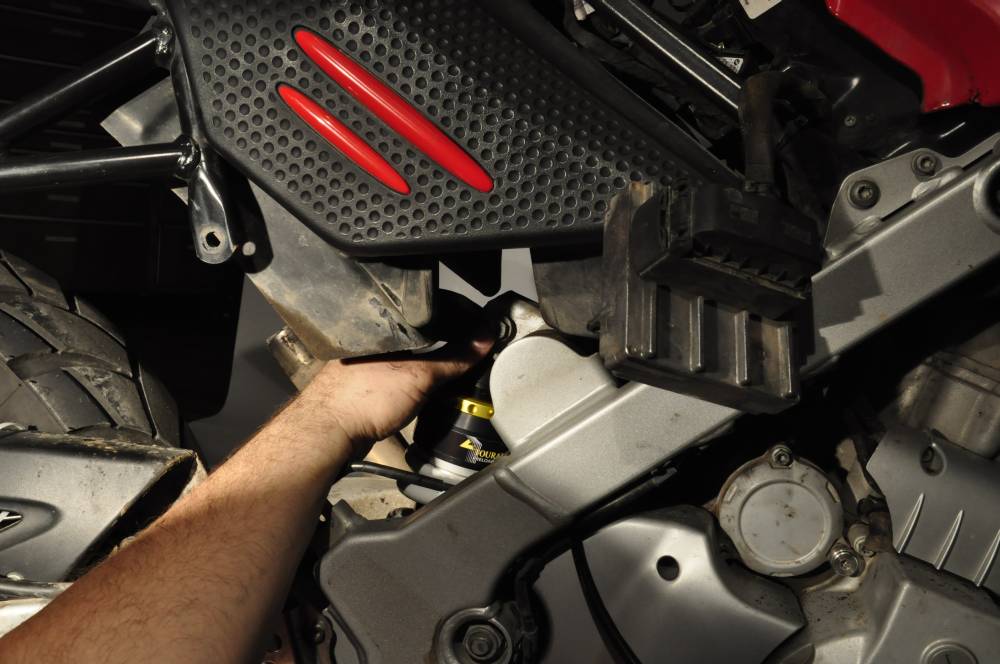
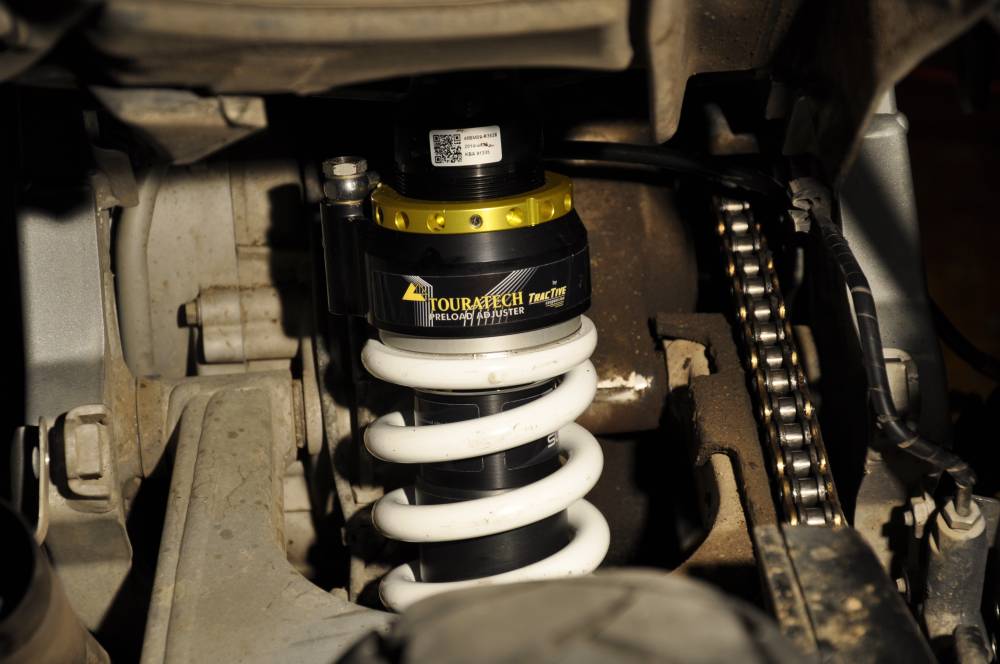
15. Raise new shock into place while threading the preload adjuster knob through the engine and installing the top shock bolt.
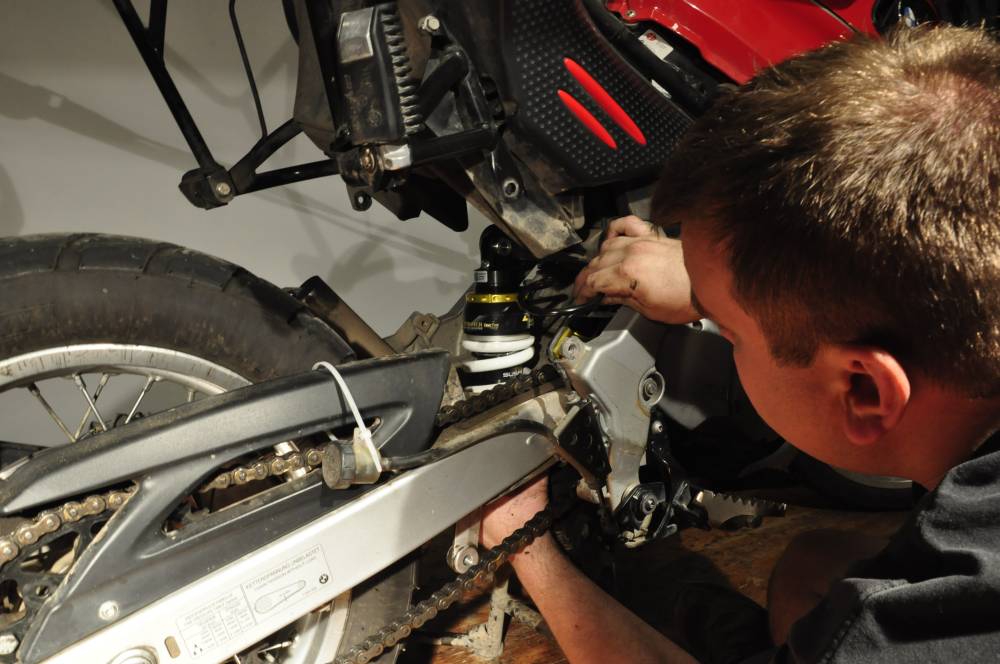
16. Insert upper shock bolt and tighten to 50 NM.
17. Align linkage and insert lower shock bolt. Tighten to 30 NM.
18.Insert remaining linkage bolt and tighten to 80 NM. (You may need a buddy or block of wood to slightly raise rear wheel so that holes align.)
19. Install preload adjuster to frame.
20. Release tie-downs to lower sub-frame. Reassembly is reverse process of disassembly. Be sure to reconnect any vacuum lines and electrical connectors under the seat, properly tighten subframe bolts, and reattach brake fluid reservoir and exhaust.
